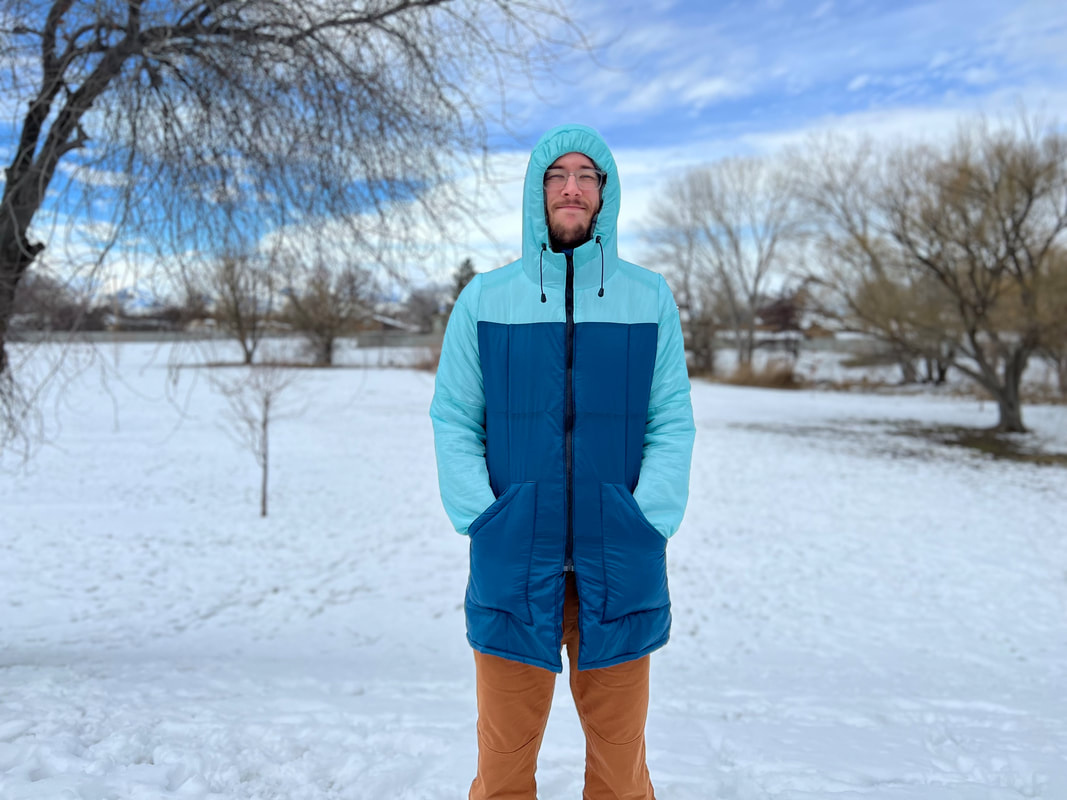
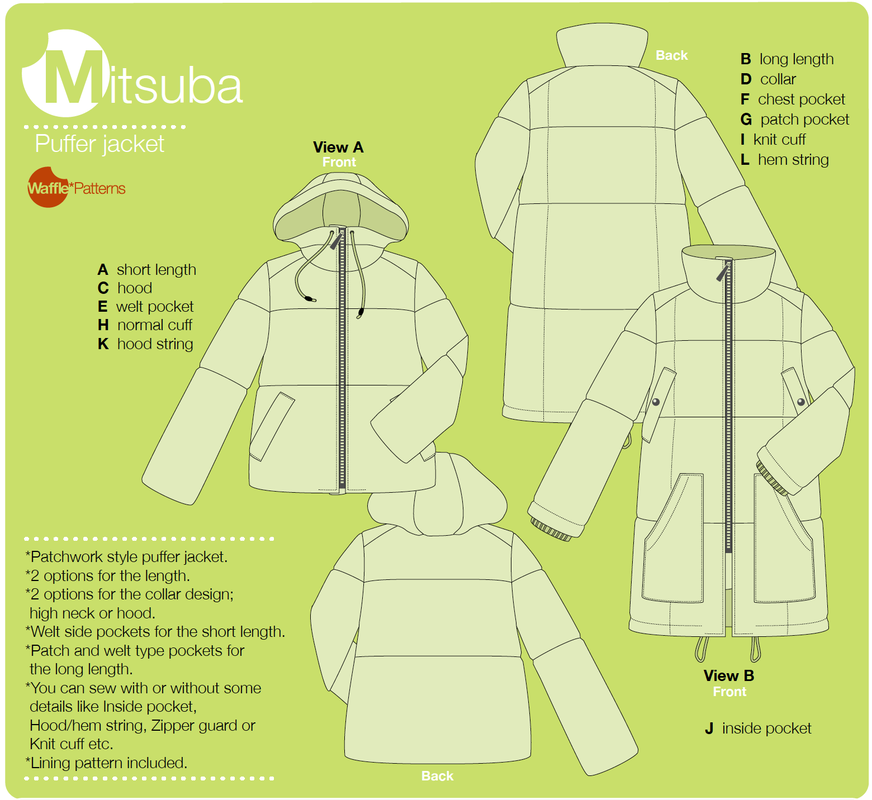
 Kevin's wardrobe has really been lacking a long hooded coat, and after Waffle Patterns released their latest jacket pattern, I knew I wanted to give it a shot! The result is a 13.16oz puffer jacket using 2.5oz apex insulation and 1.1oz ripstop nylon! 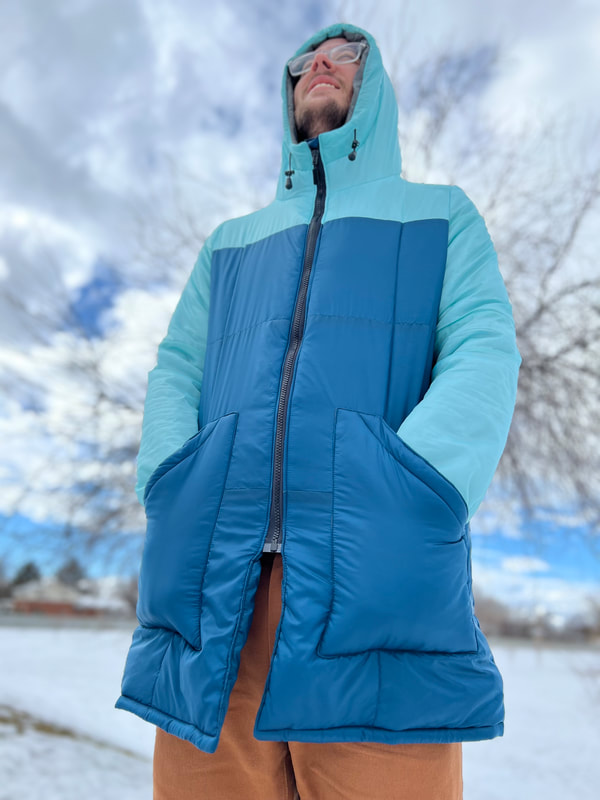 View and Sizing:
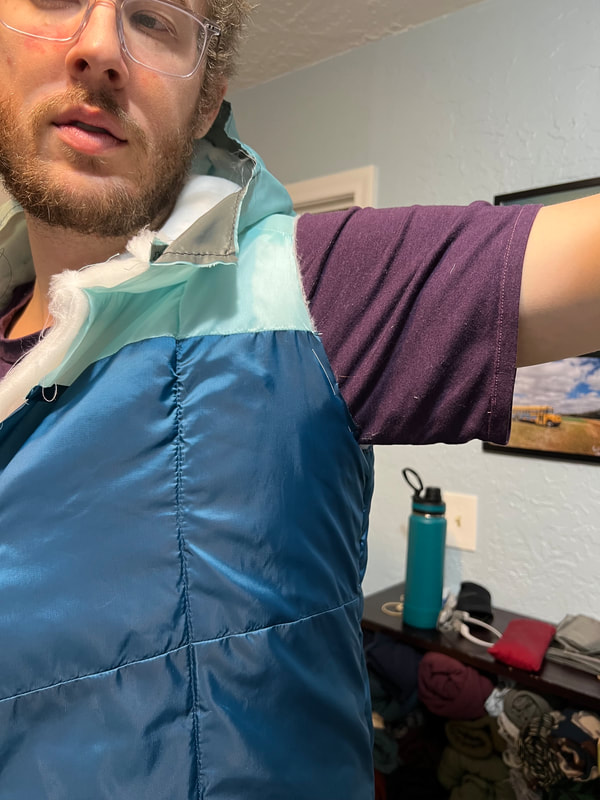
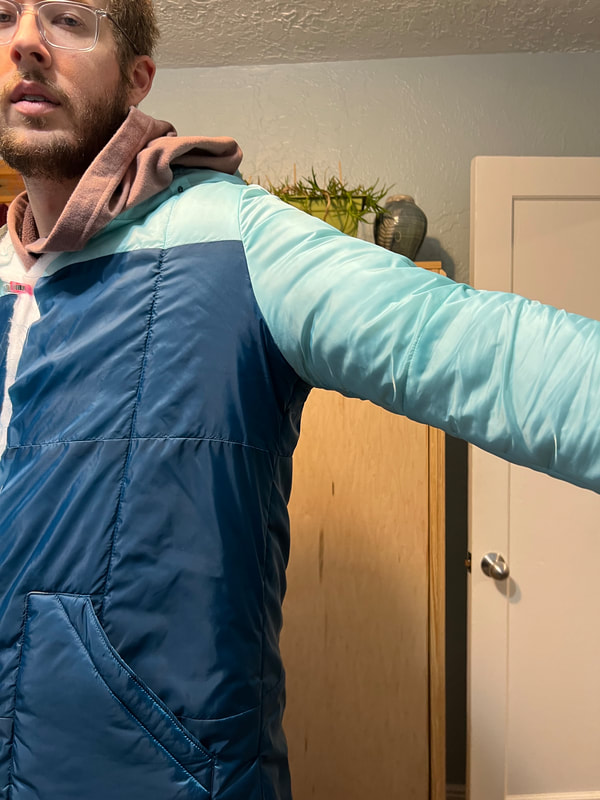
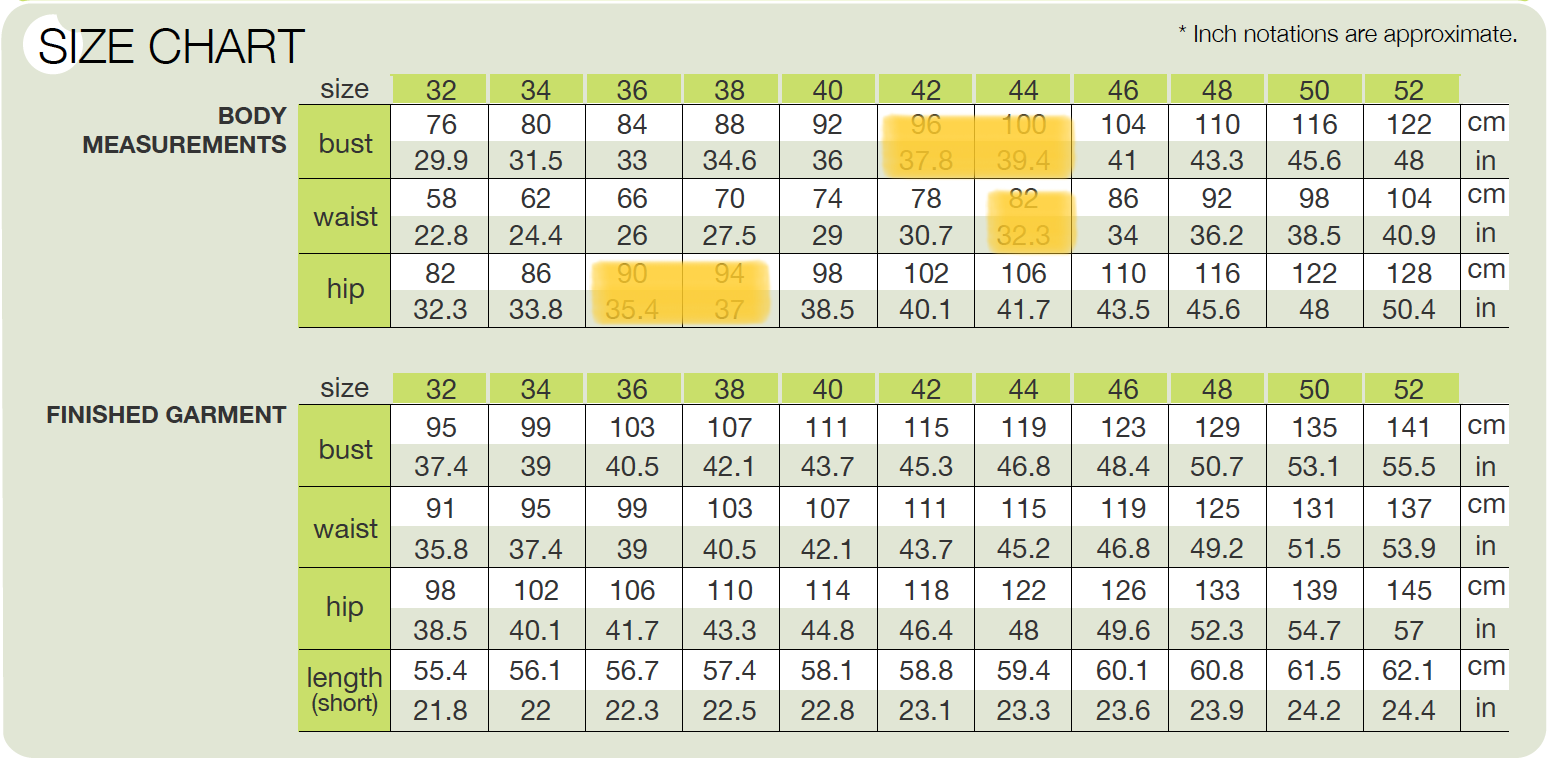 Kevin's current measurements (highlighted in the size chart above) are chest: 37.5", waist: 32", hips: 36", height: 6'4". I was primarily concerned with the chest/back fitting him, because this pattern didn't say what body type it was drafted for, but the designer's photos were all of folks who presented as women. I decided to make a size 44, and after measuring the pattern pieces opted to lengthen the arms 3". After the bodice was completed, I realized the armcye was too tight, and limiting range of motion in his arms and pulling at the back. Here are the pictures before and after my mods:
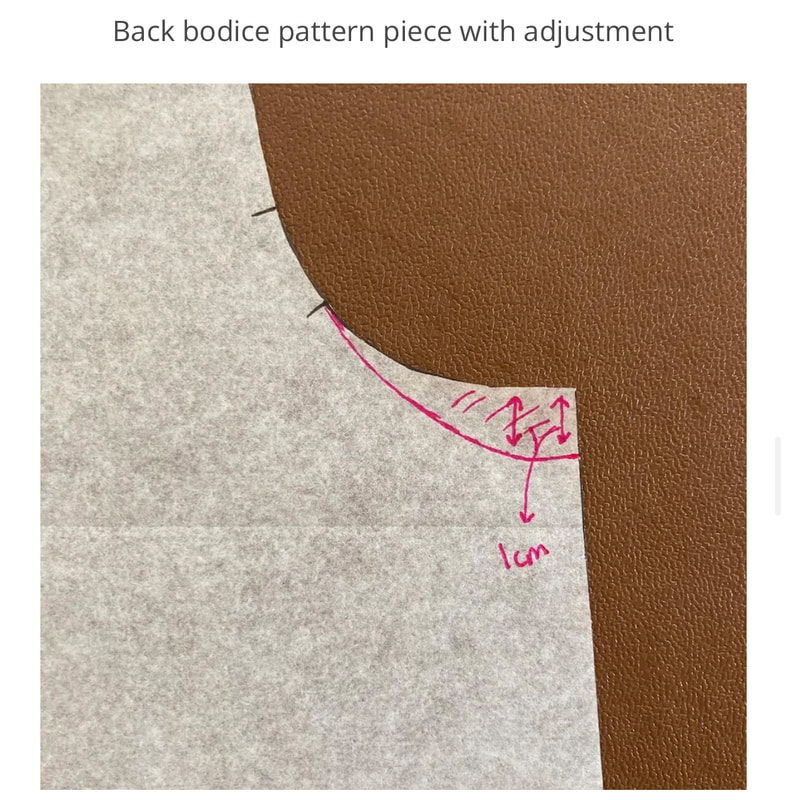
I went back and forth about the way to deal with this, since I already had the bodice constructed. What I ended up doing was measuring 1/2" under the armpit cutting that out, and then extended the sleeve piece 1/2" on either side. I basically did what this blog recommended, following these two pics:
Thankfully, the sleeve is constructed of 3 pieces, so I only needed to recut the one piece that had the curve part, here's what that mod looked like on Inkscape: 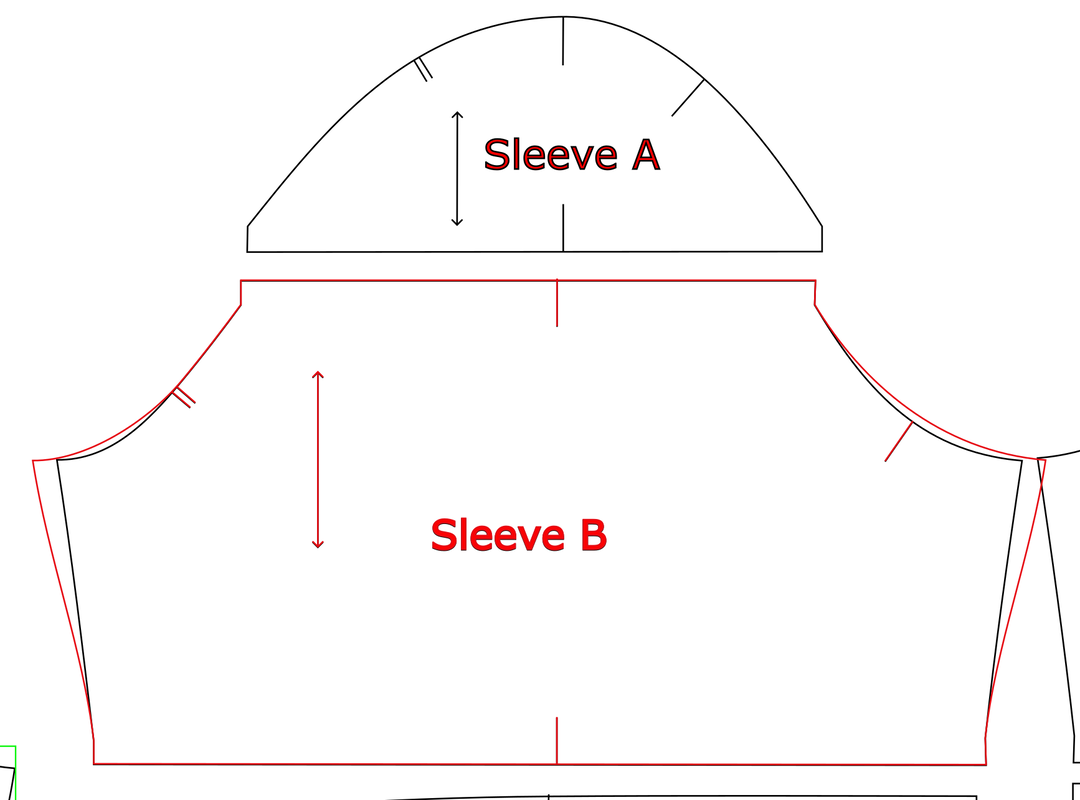 Materials:The pattern is designed for heavier weight fabrics, but I've just made a wool coat, and neither Kevin nor I have a lightweight hooded puffer, so that was our primary goal with this. I ordered samples of 3oz supplex nylon, 1.9 oz ripstop nylon, 1.6 oz HyperD and 1.8oz airwave. Ultimately I decided the ripstop nylon was the best material for this, but after inspecting my Patagonia Down Sweater and Kevin's OR down jacket, they are both made with 10D ripstop nylon, which is what led me to the 1.1oz ripstop nylon. I was also originally planning to use 5oz climashield apex, but after talking with other makers, I decided that would be too warm. So that's what led to the 2.5 oz. 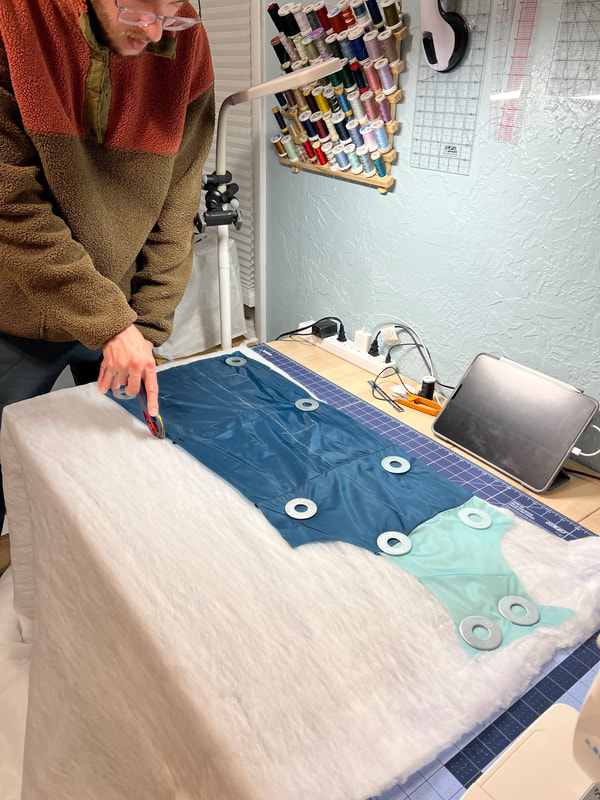 Final Materials I chose:
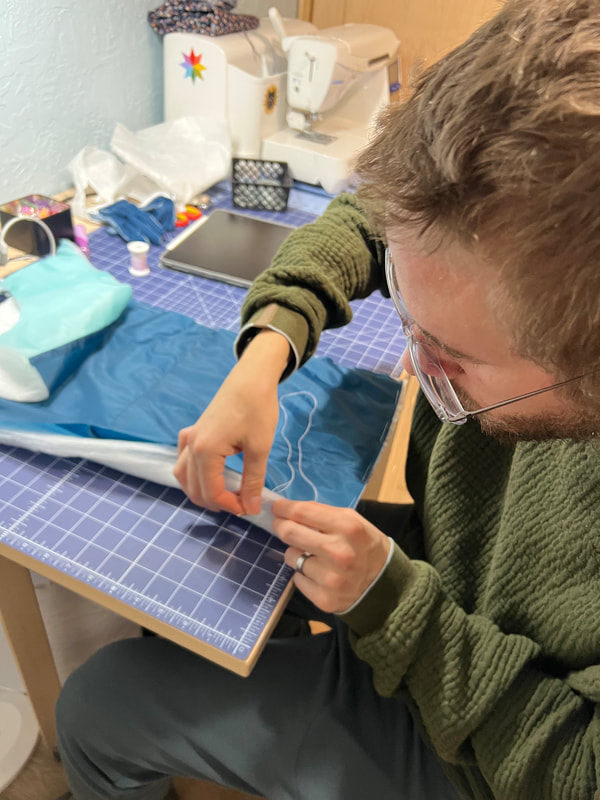
 This was the hardest project I've made using the apex. Note: I've worked with apex insulation a lot, including: a quilted insulated skirt (5oz); insulated lap blanket for my wheel-chair using SIL (5oz); winter double quilt (7.5oz). Specifically, the entire bodice is constructed with insulation on the wrong side and the outer fabric as the right side, this means more than 60% of the jacket required the insulation to be agains the feed-dogs, and this stuck to EVERYTHING. My other projects all had the insulation sandwiched between two materials for the construction steps, so this was my biggest challenge. Notes on projector compatibility with this pattern: The whole process for making this jacket took approximately 30 hours. This included about 3-4 hours at my computer, digitally tracing all the pattern pieces, laying the pieces flat that were intended to be cut on the fold, and organizing the 40+ pattern pieces by the color of fabric I intended to cut it out with. This is not a projector friendly pattern (even though the files are layered and available in A0 and copy shop sizes). Each layer includes the seam allowance on the pattern piece, the grainlines are all over the place and the pieces are not organized by use. Also, after running it through PDF stitcher I couldn't click/group the pattern pieces easily, which is why I decided to just trace each piece on Inkscape. As you can see above, this was a lot of work. And while constructing, I discovered a few pattern pieces I had to go back and cut because I'd missed them when initially organizing the pattern pieces!  On the plus side, I can't imagine the nightmare that cutting out all these pattern pieces would've been. So I don't regret it but it did suck. Thankfully, ripstop nylon is a delight to cut with the projector, so that was fun! Construction:As mentioned in the materials list above, it was a bitch and a half to sew with this insulation against the feed dogs and walking foot. If I make this again for myself, I'll just be sandwiching the insulation between both the outer and lining and then binding the seams, it'll save tons of headaches. 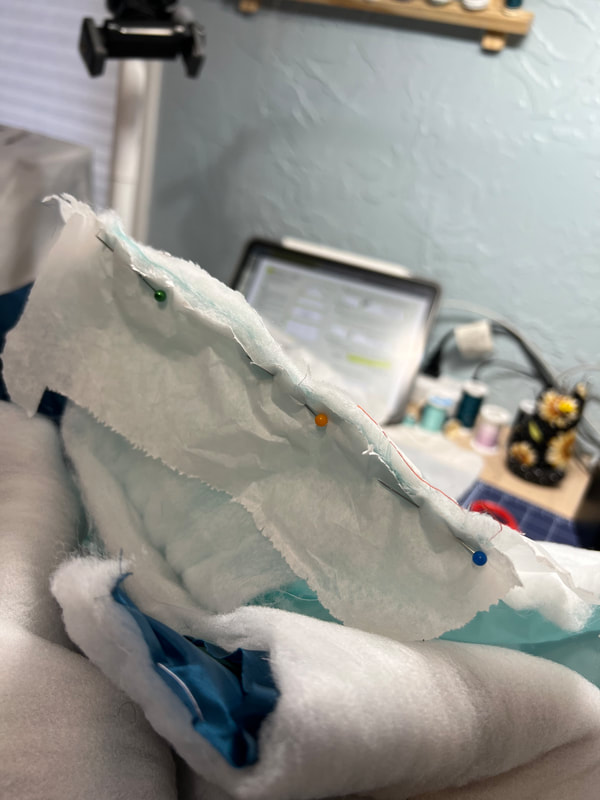 I ended up using tissue paper to sew whenever the apex was directly against the feed dogs. Without the tissue paper, the insulation would get caught in the feed dogs and then mess up the tension and not properly feed the fabric through. The tissue paper was easy enough to rip off after sewing, but tiny scraps of paper got caught in the insulation very easily which sucked.
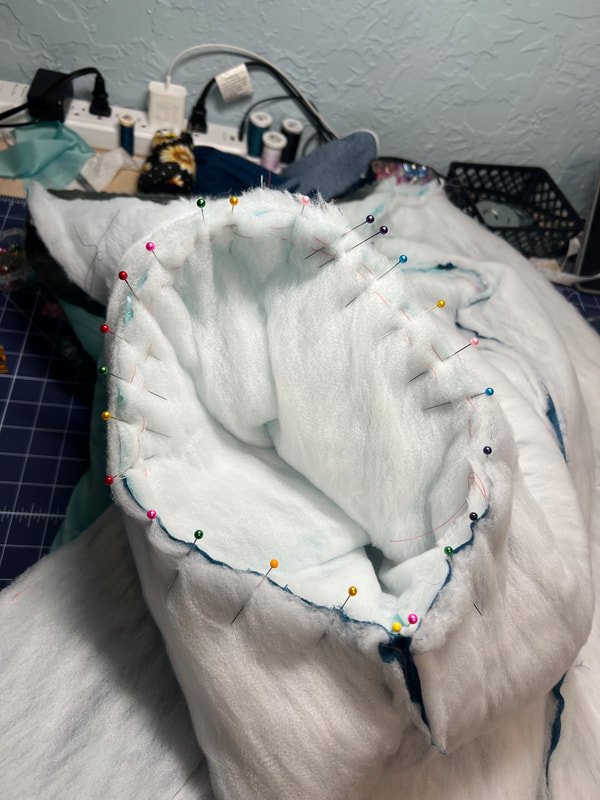
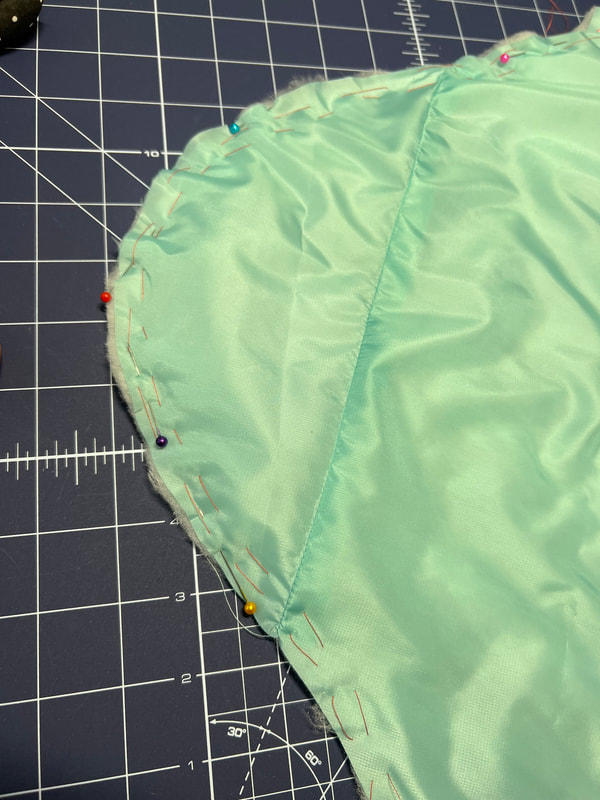
The instructions for the pattern called for each front/back/sleeve piece to have the insulation cut and attached directly. I didn't do this - I sewed the shell then cut the full front piece out of insulation, since apex doesn't have to be quilted at a designated space interval. 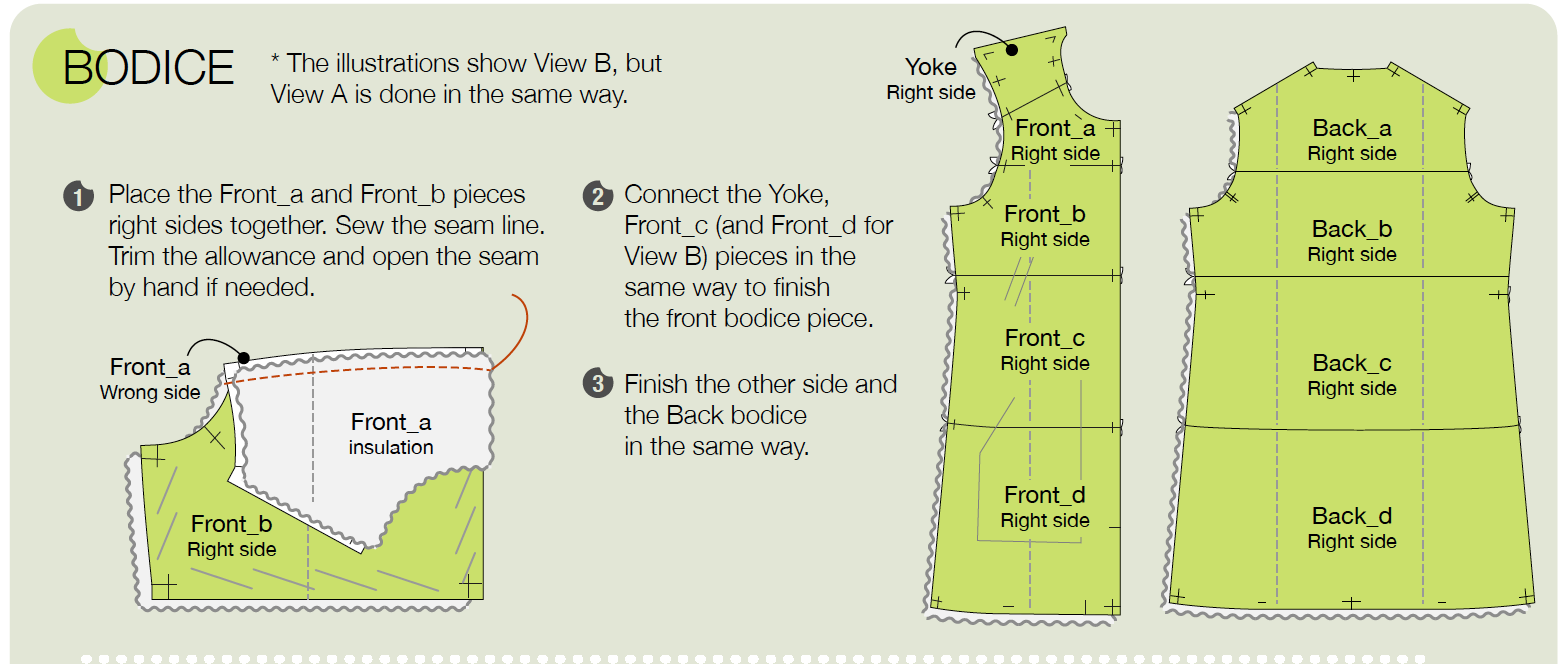 This is the step I skipped, so I sewed the shell pieces, and at the ended added the insulation, which I (actually Kevin, because I hate hand sewing) hand basted to the shell, and occasionally just pinned a ton. Main construction things: I used a 75/11 needle, and my regular presser foot when sewing just two layer so of the nylon, and switched to the walking foot at +2 tension whenever I was sewing through the insulation. I found the thin/slippery nylon fabric shifted too much when using the walking foot. Overall, I was very pleased with how easy the nylon was to sew, and I was able to rip stitches/resew without damaging the fabric or having visible holes. 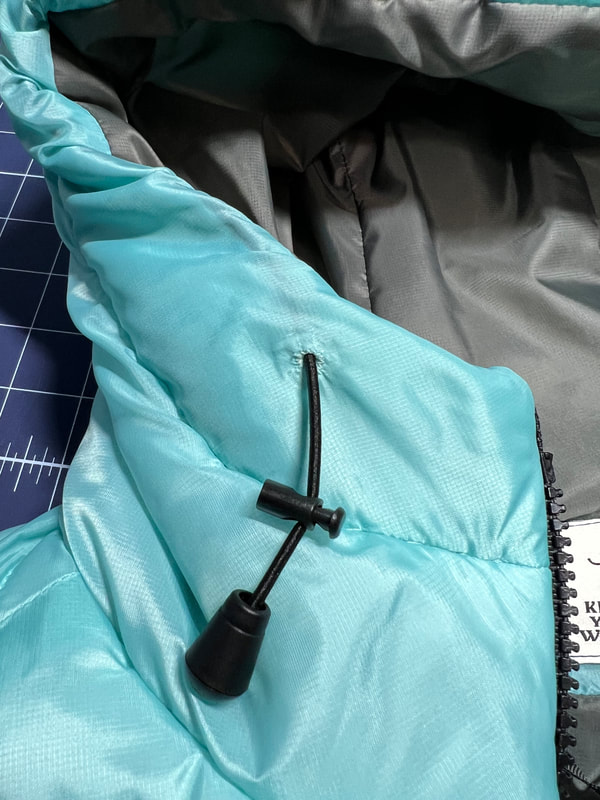 I used the eyelet stitch on my machine (Juki DX 7) to make the cinch cord openings, which I think is super clean and I'm very proud of it! I also hand sewed the lining to the shell in a few places to keep it from bagging out I tried to interface a few pieces (see the welt internal pocket below) but the fabric didn't take interfacing well, I also didn't have a lightweight enough interfacing, so I omitted it just about everywhere. 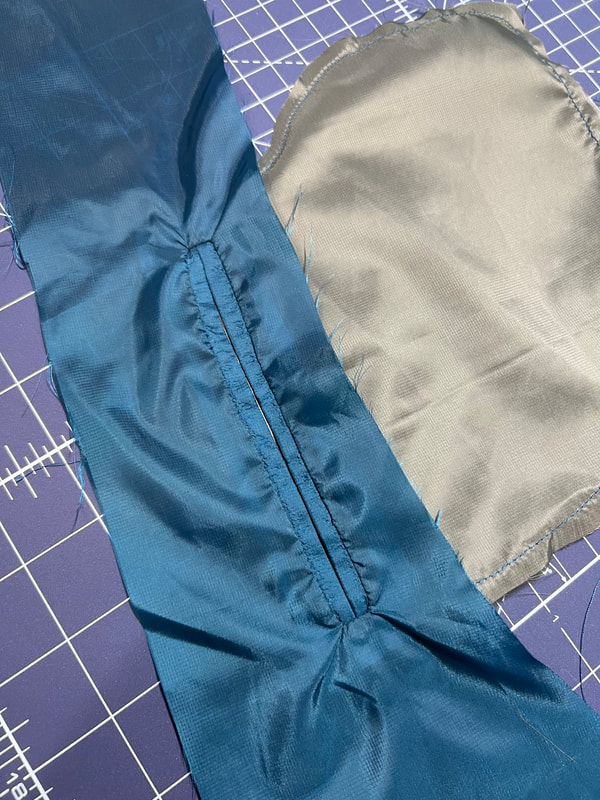 I showed in the view/size section how I modified the armcye to fit Kevin better, but here's a pic of how I just lazily added a gusset to the lining to achieve the same effect. Its on the inside so I didn't care too much.  I also added a 3/4" grosgrain strip to the zipper guard to prevent the zipper from snagging the fabric, this is a trick I picked up from a RTW coat, and I love it. You can achieve the same effect by sewing rows of vertical lines on the zipper guard, but I find the grosgrain makes it more stable. You can see that, along with the super cute tag I used from the Kylie and the Machine advent calendar below: 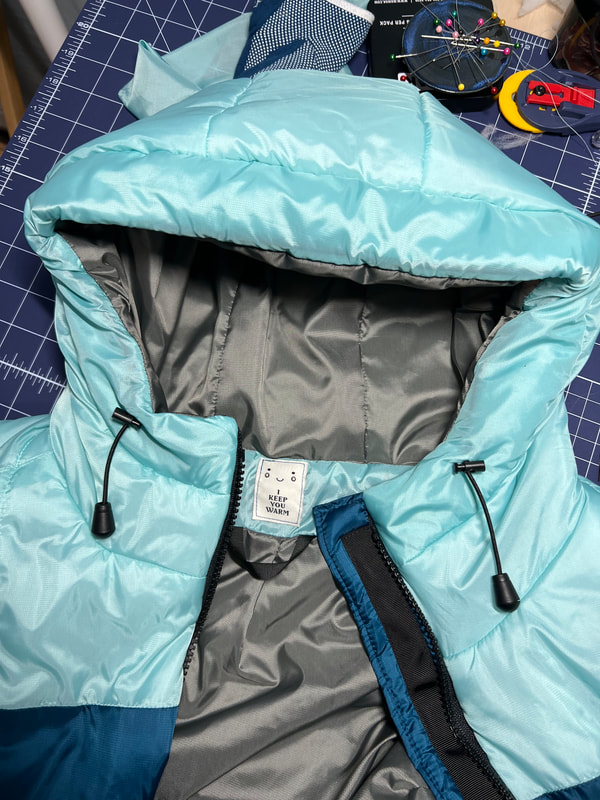 Final Thoughts: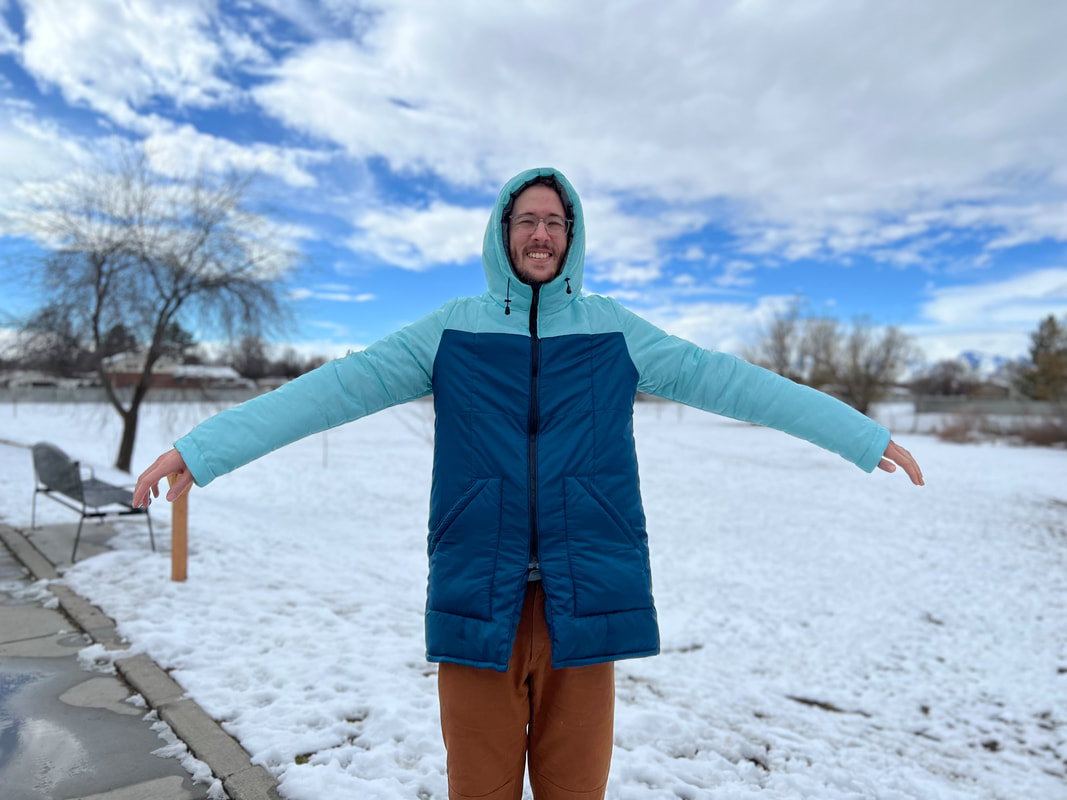 I am so stoked with how this project turned out! I spent 20-30 hours over 8 days working on it, and it really perfectly fills a gap in Kevin's wardrobe. It is a fitted jacket, the zipper intentionally ends higher than the bottom of the jacket, so you don't need to unzip it to sit (or, in Kevin's case, to pee). I will make some mods if I make this again using the same materials, but I think it would be substantially easier if using the materials recommended by the designer. I bought the materials for mine at the same time as Kevin's (I think that'll be a next winter project), so half the cost was $50. This was my first time using a pattern by this designer, and I was very impressed at the quality of the instructions and level of detail. I definitely recommend the pattern and am excited to try out other patterns by this designer in the future! 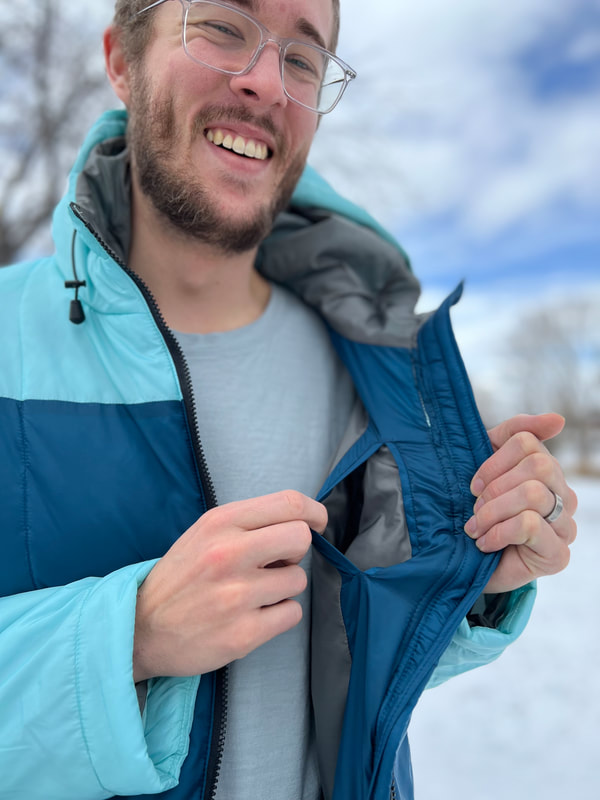  The pattern is listed as advanced, which I think is an accurate rating! 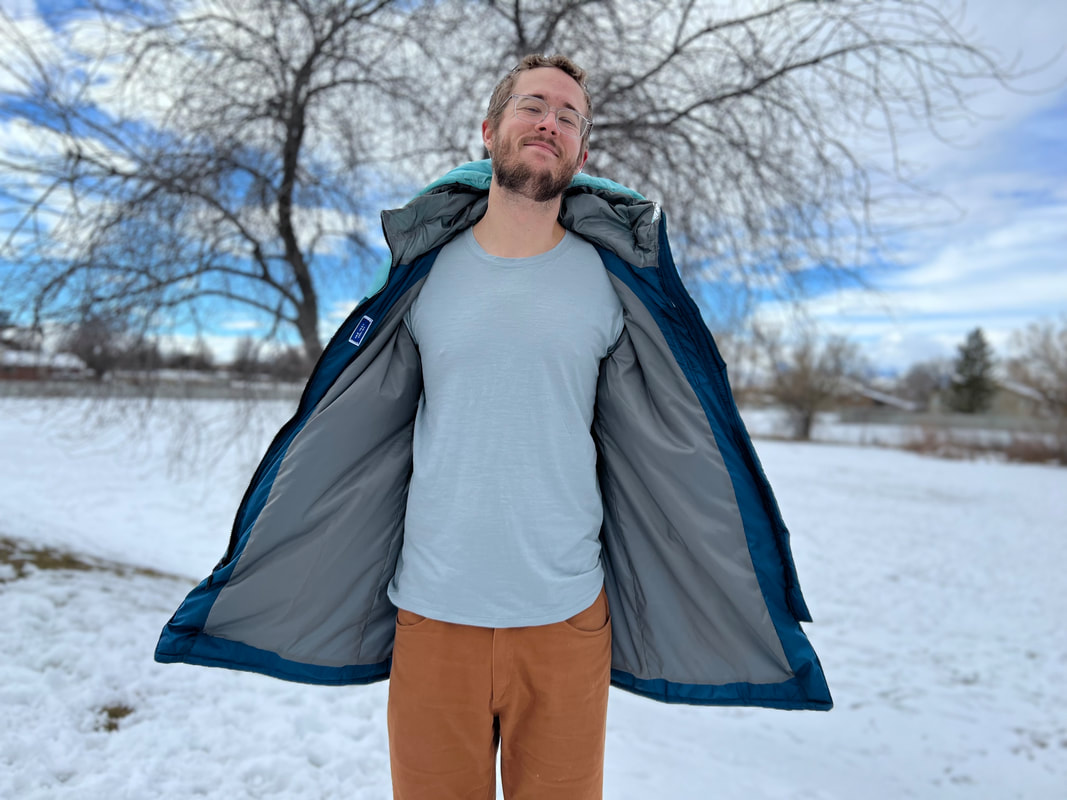 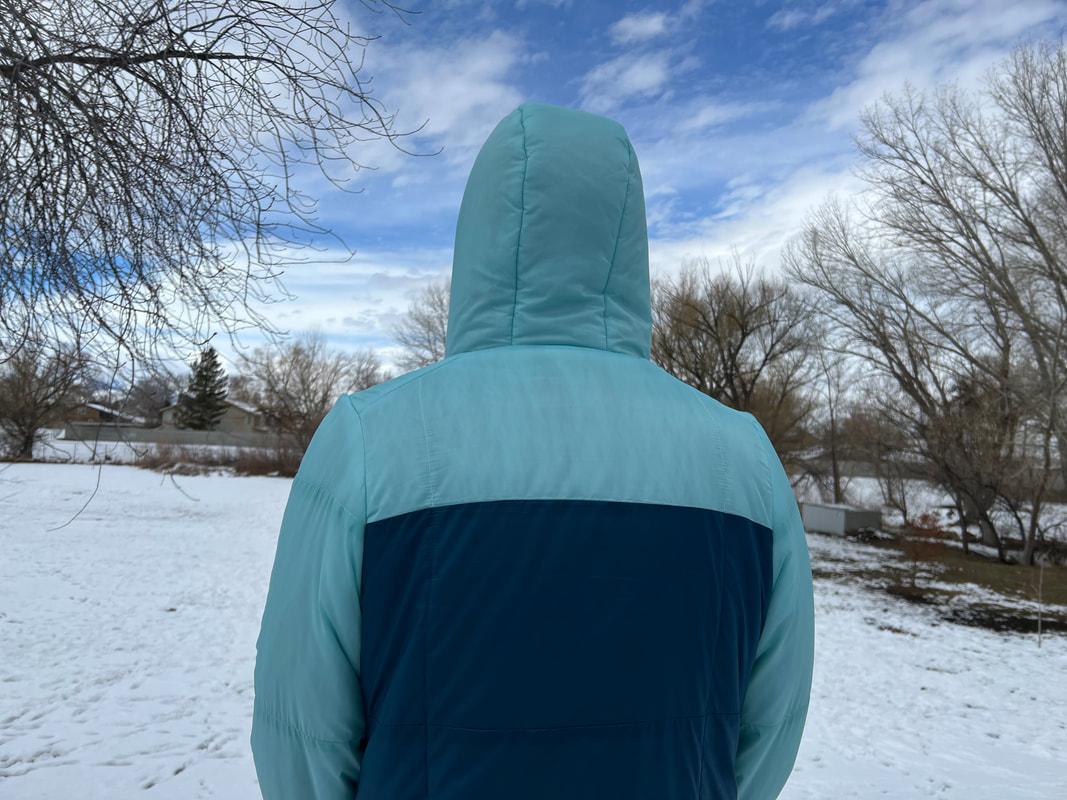
0 Comments
Your comment will be posted after it is approved.
Leave a Reply. |
About FrancescaI got my first sewing machine middle school, circa 2005 (although I don't remember learning much in the way of sewing). After a long hiatus, I was reunited with my machine in 2019. I re-entered the hobby through gear-making, and have been crafting a handmade wardrobe since late 2020. I have a real affinity for comfy clothes (secret pajamas) and all the colors! Archives
August 2023
Categories |

 RSS Feed
