 I finally caved and made THE pinafore dress that has seemingly taken over my instagram over the past several weeks/months. I created a projector file for two version so this dress, and Leila kindly adapted the files to be print-at-home friendly!. I am not providing any support with this file, the fun of this dress is figuring it out as you go, but I'm happy to share a starting point. InspirationI've seen Anna, @tartan_tarlatan on instagram, make so many iterations of this dress and each and every one is gorgeous! However, it never felt like it was quite my style, so while I appreciated it from afar, I never considered making my own. That is, until I saw Cissy, @dotcardigan on instagram, make this super cute blue version, and for some reason that ignited my desire to have a go at the pattern! Cissy opted for a rounded neckline, and above the knee length. Whereas Anna does a more square/trapezoidal neckline and usually below the knee. I decided to combine the two and do an above the knee version with the square neckline and I love how it turned out! 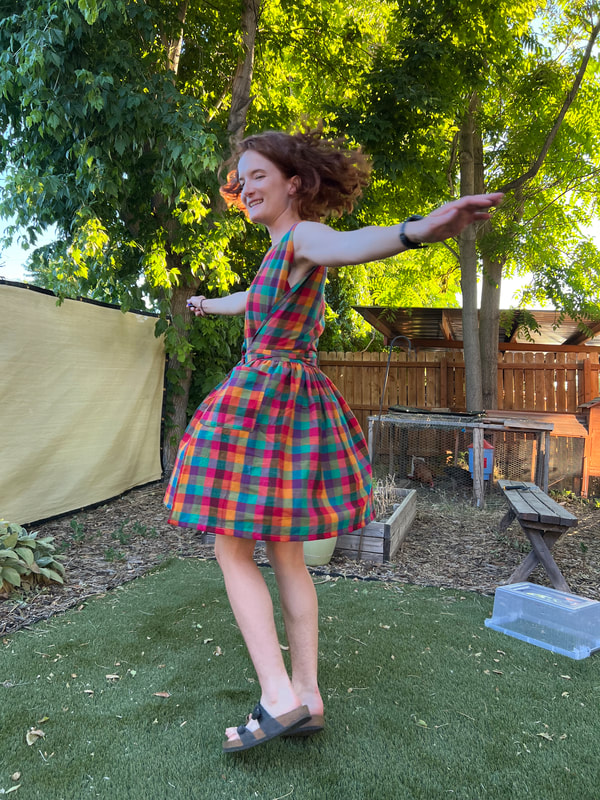 PatternIn Anna's most recent reel about this dress, she included the measurements she uses for her pattern. As we're close enough in size, I decided to draft mine using those same measurements and then adjust as needed after a quick toile of the bodice. As I created the projector file, I referenced the dozen screenshots I took from her reel and story highlight on the dress! My current measurements are High Bust: 31", Full Bust: 32", Waist: 26.5", Hips: 36.5", I am 5'3". In Metric, that is HB: 78.74cm, FB: 81.28cm, W: 67.31cm, H: 92.71, I am 160cm tall. I have TWO versions of the files, and I'm making them available for free to download. However, I will not provide any support with these files! This is the file that I used, based on my measurements and preference, it is up to anyone opting to make this using the files to figure it out yourself! I made projector files for each version and the wonderful Leila, @leila.makes, made the same files into a print at home version! The print at home versions do not include the skirt pieces, but Leila's tip is to use a 2:1 ratio for bodice:skirt width! I use Inkscape to edit my patterns. Version 1: This is the exact pattern that I used in the pictures! I omitted the sleeve caps, and decided to sew the ties with a 3/8"SA instead of the 5/8" I'd originally planned.
Version 2: These are the edits I made after finishing my version, and this is the file I will use for any future versions. I curved the sides of the front and back pieces so that it's narrower at the shoulder, as I had a little gaping there. I ended up liking the final fit, but it did not look good with the sleeve caps. This version should look a little better with sleeve caps!
Both SVG files include pattern pieces in the corner for the front, back and facings that include the 5/8"SA which should aid in making modifications. I also included a line down the center front and center back should you opt to cut your fabric on the fold instead of flat. 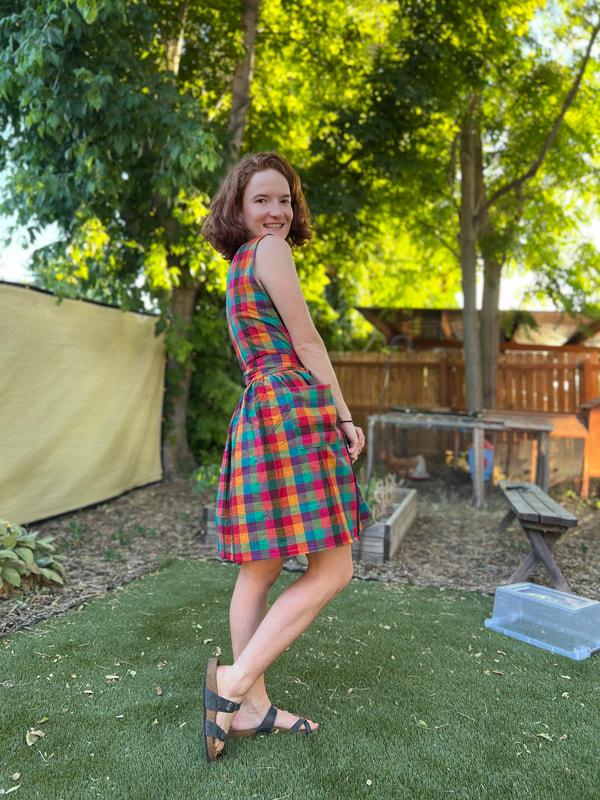 Construction OrderNeckline Step 1: Serge the raw edge of the Front and Back shoulder seams. Then sew front and back right sides together at shoulder seams. Press seam open. This becomes bodice. Step 2: sew front facing and back facing RST at shoulder seam, press open. Then serge/zig zag the whole outer shape of this piece. This becomes facing. (you can also wait to finish the raw edge until you've constructed the neckline, as you may wish to remove some of the extra fabric!) Step 3: Align the facing pieces to the bodice RST, aligning center front, center back and shoulder seams. Sew this seam with a 5/8" seam allowance. Then clip into the seam allowance without clipping the seam, at all six pointed edges (where CF and CB turn towards shoulder seam, and then each shoulder seam). This provides the relief to then turn the facing inside so wrong sides are together. Then press thoroughly. Step 4: Topstitch around neckline, I opted to do this at a 3/8" SA. Step 5: Stitch in the ditch at each shoulder seam to secure facing to bodice.
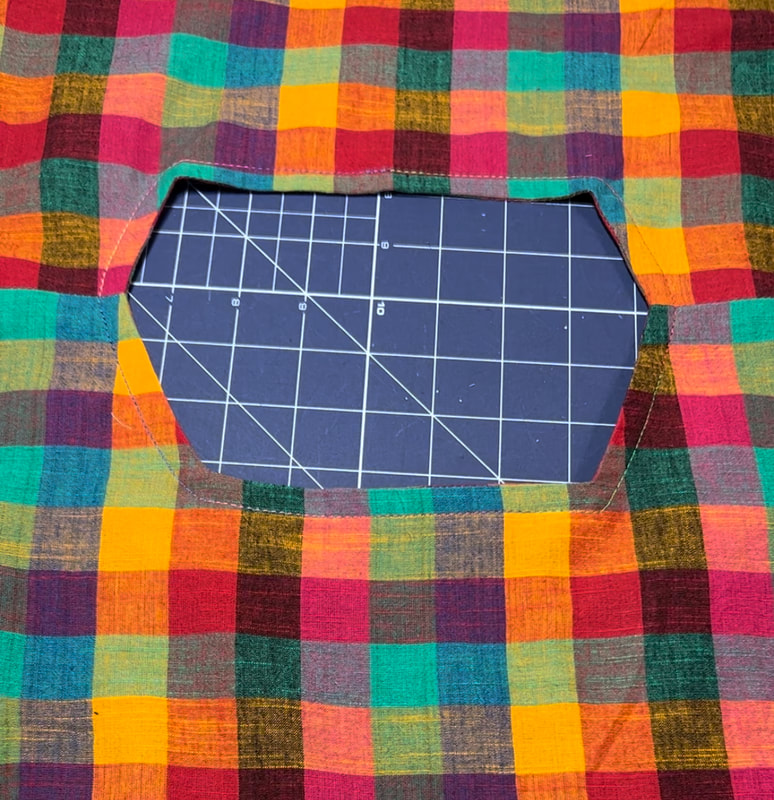
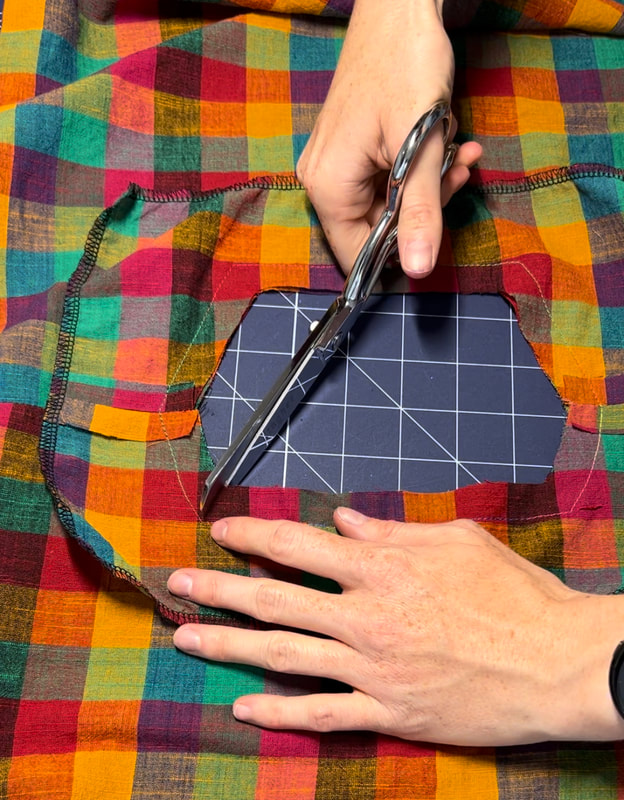
TiesStep 1: Fold each tie in half long wise, and sew. I opted to sew with a 3/8" SA to create wider straps. Step 2: Use a safety pin to turn the straps right side out, and then press. Step 2: Create a double fold 1/4" then 3/8" hem on one short end of each tie and stitch. 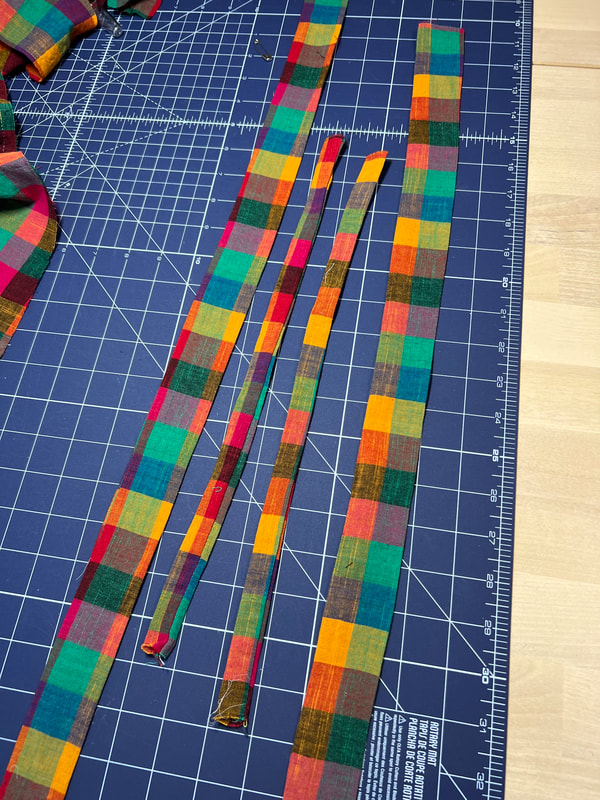 BodyStep 1: press the sides up by 1/4" and then again by 3/8" to hem. Step 2: Measure 5/8" up from the bottom on all four corners of the bodice, and pin the raw edge of your ties in place. I secured my ties into the side seam hem this way. The two wider ties attach to the back and the two narrower ties attach to the front. Step 3: Sew this hem on both sides of the body. Then turn the strap to face out and topstitch it again 1/8" from the hemmed edge to secure it. Step 4: optional - if you plan to use the sleeve caps, fold them in half, sew the two short edges and then turn the cap right side out. Sew/serge the remaining long edge closed, and align center notch to shoulder seam and sew to body. 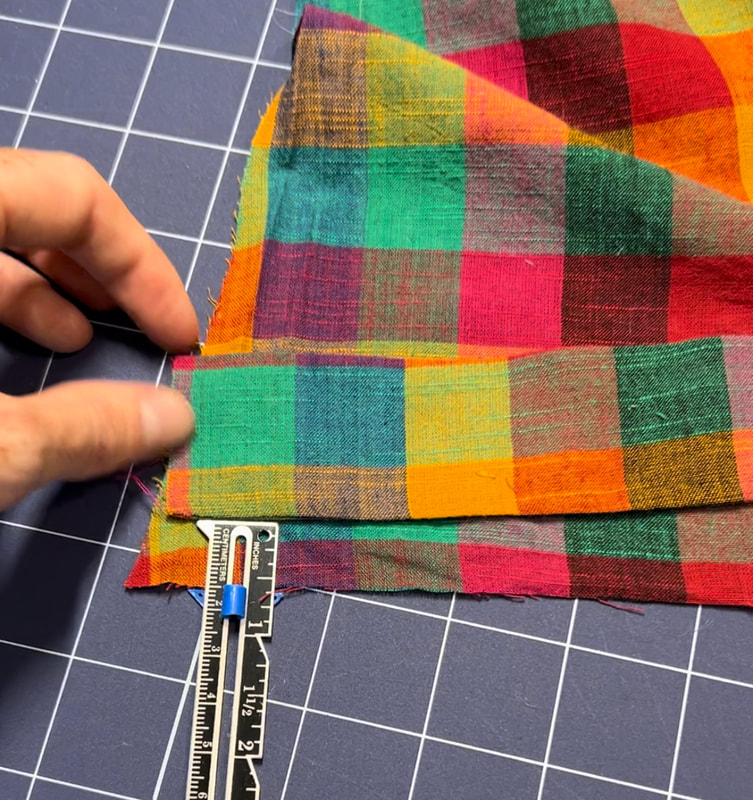 SkirtStep 1: If you did not utilize the selvedge edge of your fabric, then you will need to hem the sides of your skirt pieces by pressing it up 1/4" and again 3/8: to enclose the raw edge, and then stitch. Do this for all four raw side edges. Step 2: on a 5mm stitch length, create gather stitches by basting one row of stitches 1/4" from the top of the skirt, and a second line 1/2" from the top. Be sure to keep long tails of the needle and bobbin thread at both ends. Step 3: gently tug on just the bobbin thread of the two gather lines, to create your skirt gathers. Continue to pull and distribute the gathers until the length of the skirt aligns with the length of the bodice. Match center notches. Step 4: sew the skirt to the bodice, and then finish the seam with a serger or zig zag. Step 5: Hem the bottom of the skirt, but folding up 1/4" and then 3/8", pressing and stitching.  PocketsStep 1: Serge/Zig-Zag all the raw edges of the pocket Step 2: fold all edges towards the wrong side 3/8". Step 3: sew the top edge down. Step 4: identify your ideal pocket placement, pin it and edgestitch it down! I opted to place the pockets on the right side of the back skirt pieces, right at the side edge about 2" down from the gathers. 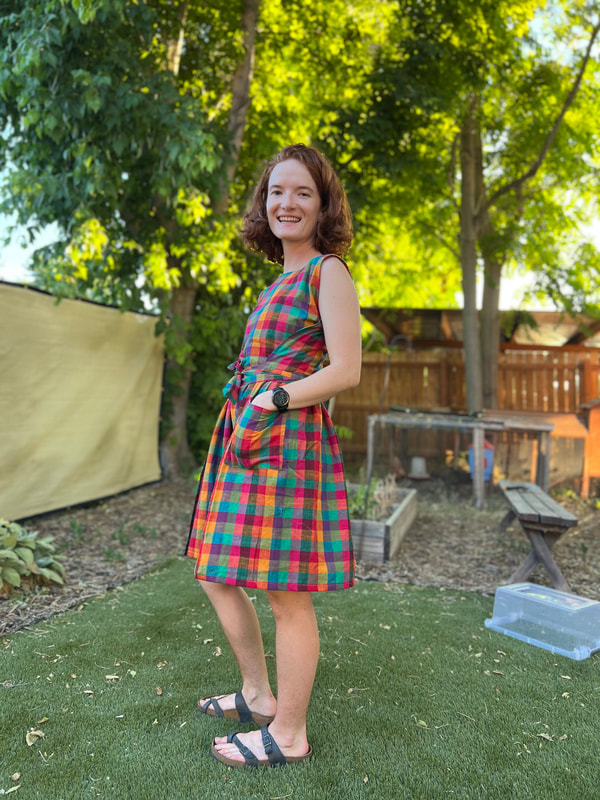 Was this helpful? Consider buying me a coffee 😘
0 Comments
Leave a Reply. |
About FrancescaI got my first sewing machine middle school, circa 2005 (although I don't remember learning much in the way of sewing). After a long hiatus, I was reunited with my machine in 2019. I re-entered the hobby through gear-making, and have been crafting a handmade wardrobe since late 2020. I have a real affinity for comfy clothes (secret pajamas) and all the colors! Archives
August 2023
Categories |
||||||||||||||||||
 RSS Feed
