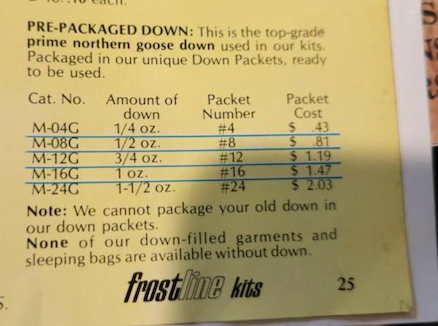
 *This post contains affiliate links, meaning I may make a small commission on any purchases made after clicking the link. BackgroundEarlier this year I was selected as one of Ripstop by the Roll's 2023 Maker Sponsors! This awesome opportunity (and associated funding) encouraged me to finally try out OutdoorINK printing (which was such a daunting undertaking), and to tackle down for the first time! I wasn't actually planning to make a single quilt, but my coworker gave me a Frostline Kit she thrifted for their Big Horn Sleeping Bag in the Large/Standard size. Frostline was one of the pioneers of MYOG, operating out of Colorado in the 1960's and 70's. Read more about the company here. My coworker found a fully complete kit at a thrift store and held onto it for years until hearing me talk about sewing gear, after which she gifted it to me! The box still had the original shipping label, showing it shipped on October 30, 1973! The fabric was quite old and far too heavy/large for my purposes, but the down was still perfectly packaged and labeled in pre-weighed amounts. It took me quite a while to figure out what the number on each packet correlated to until someone messaged me on Instagram with a picture of an old Frostline catalogue they had!
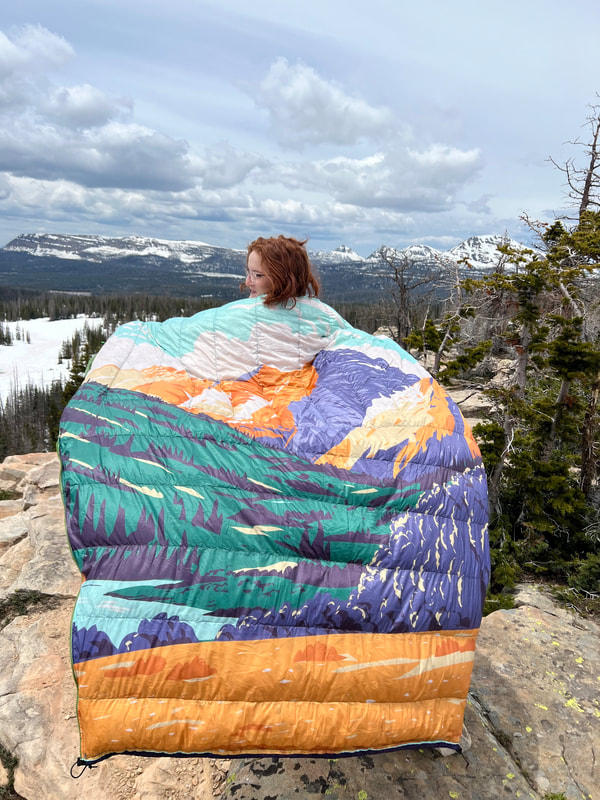
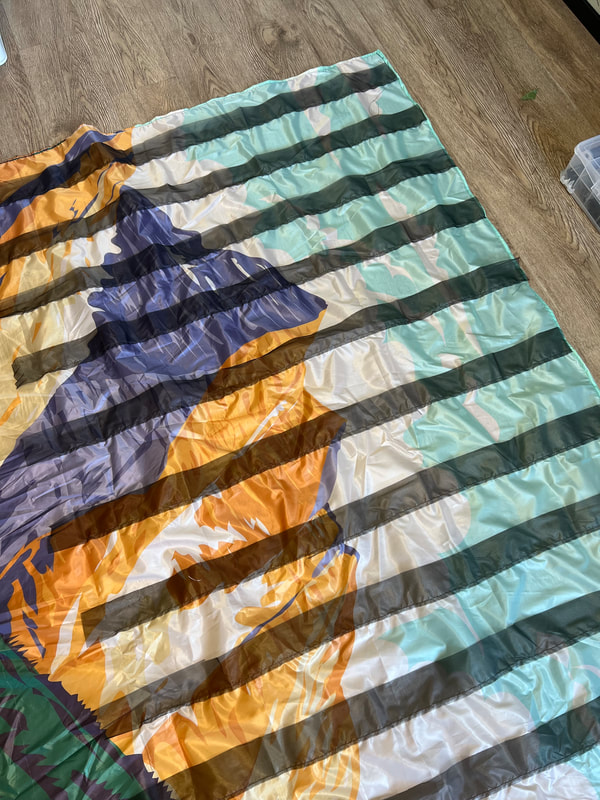
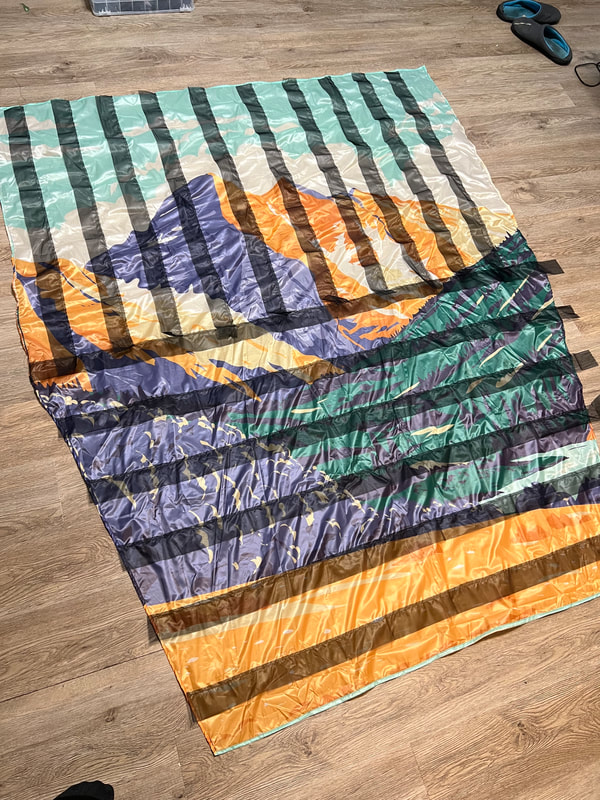
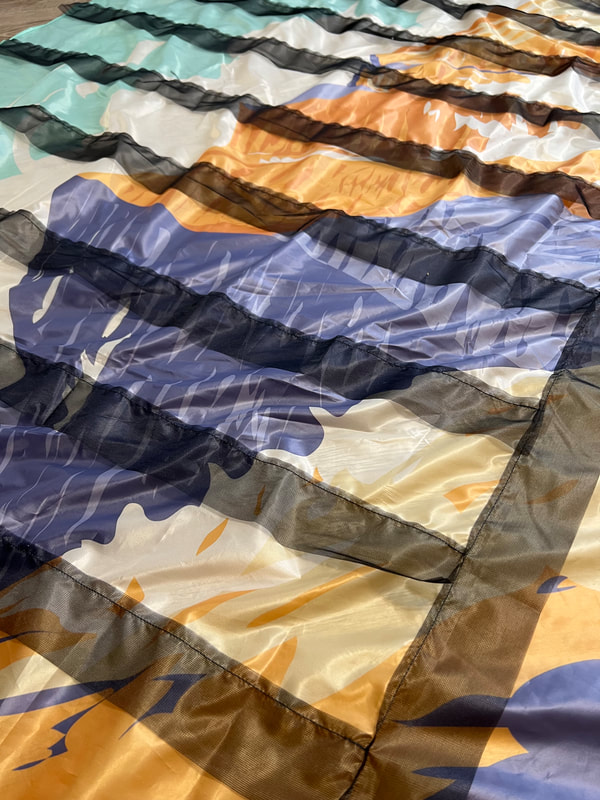
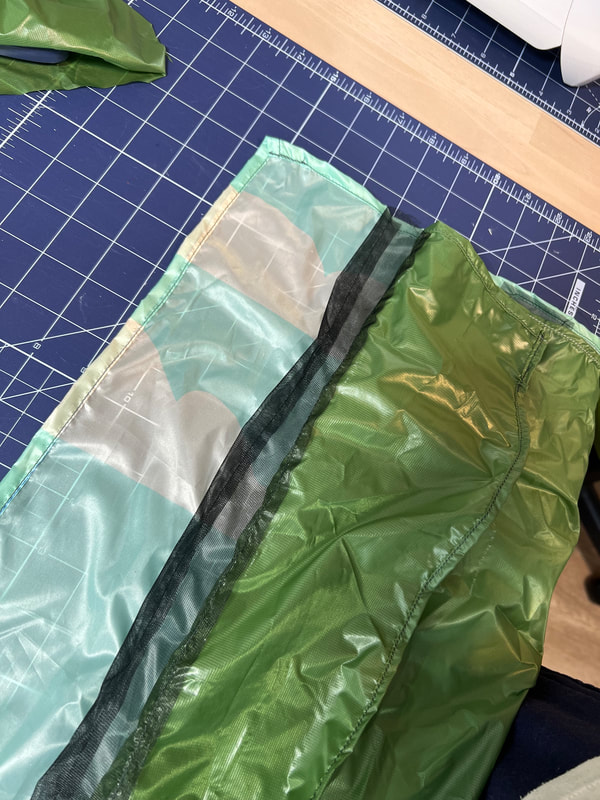
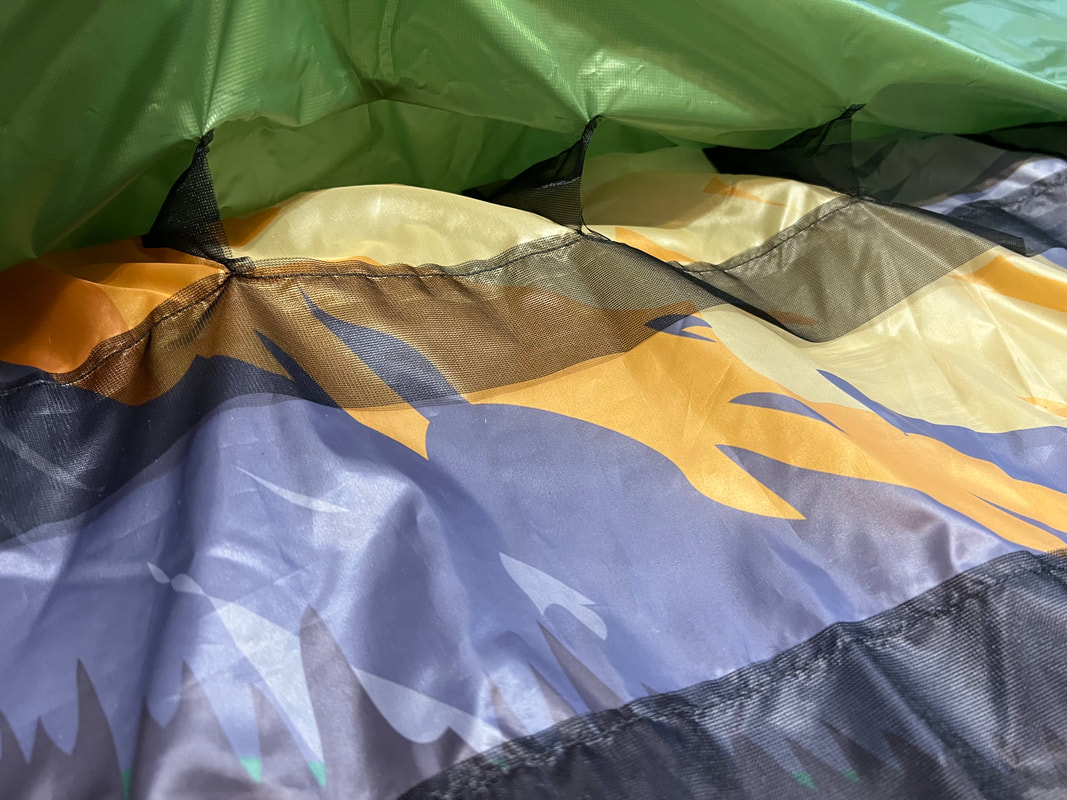
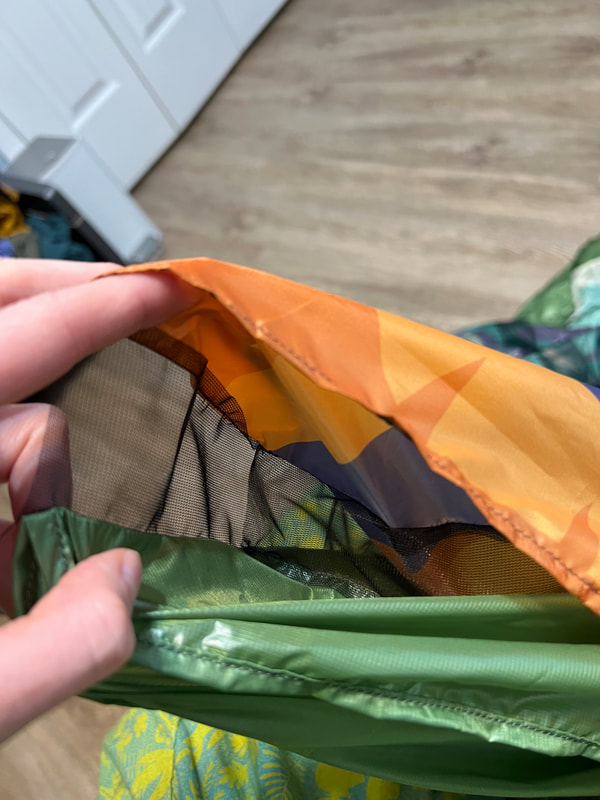
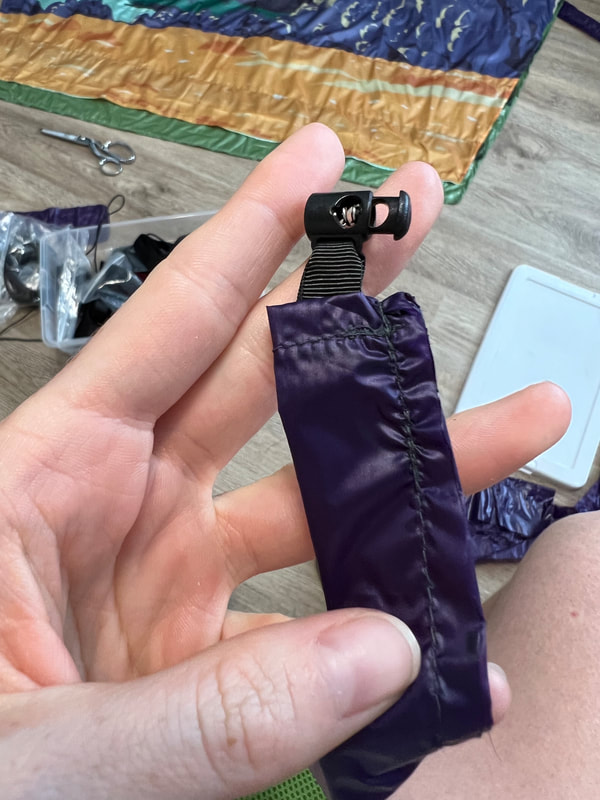
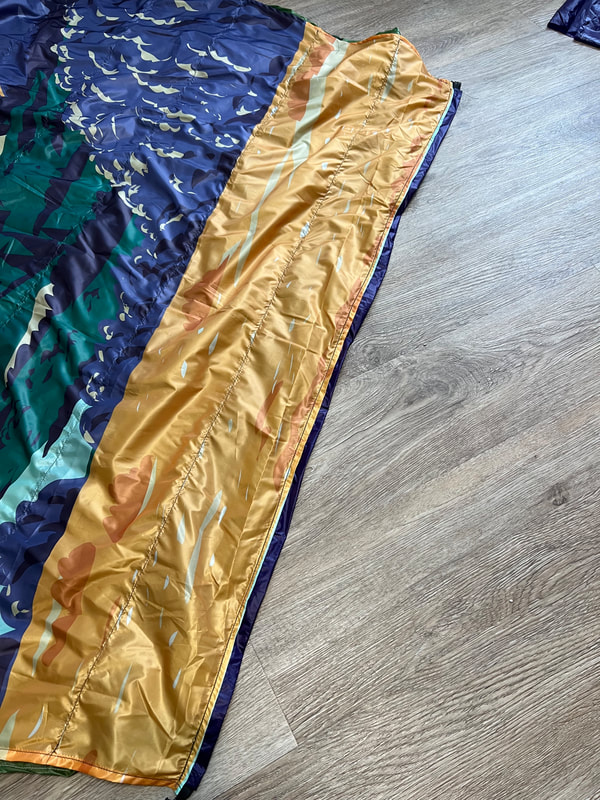
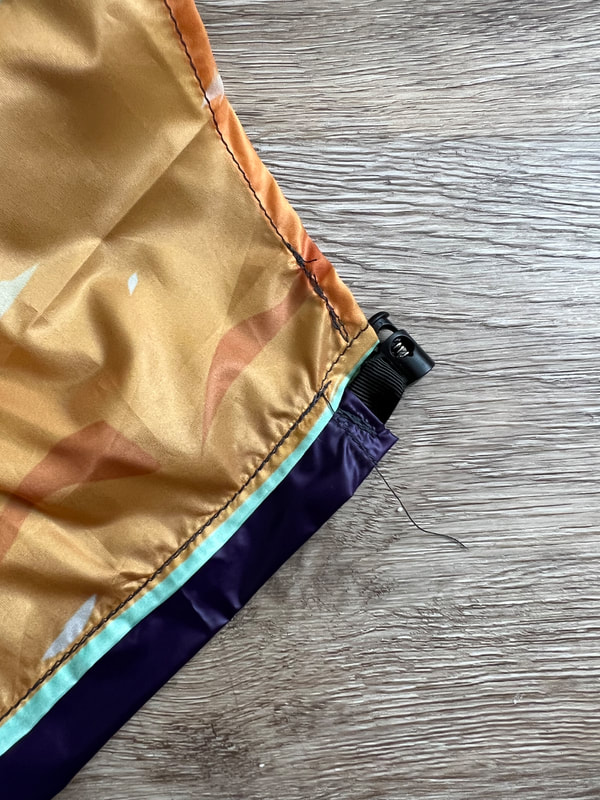
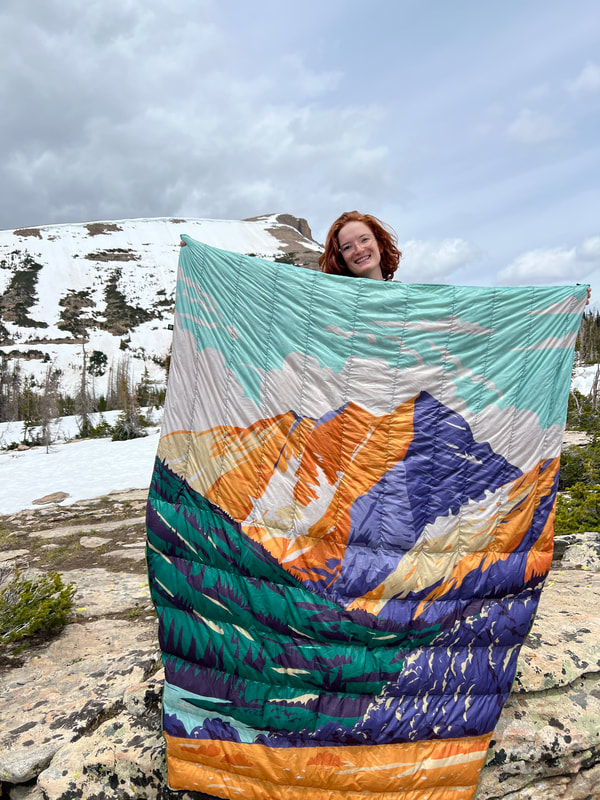
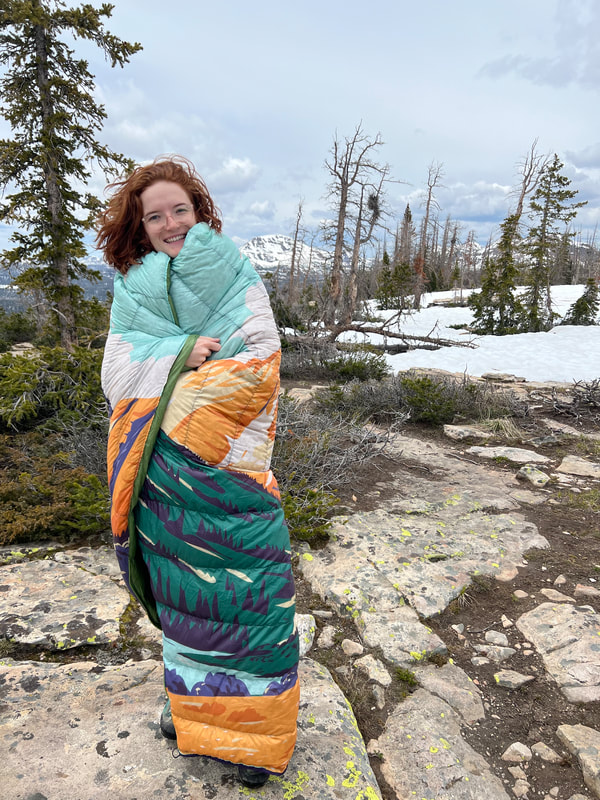
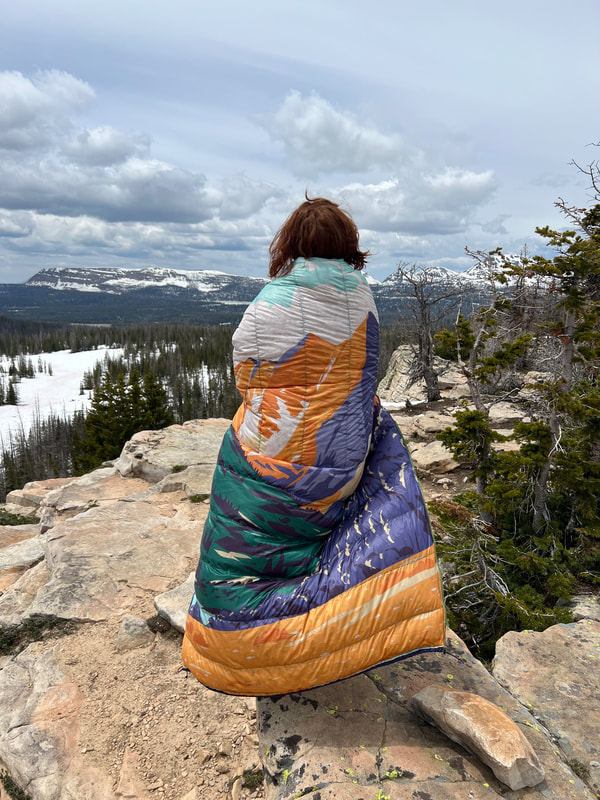
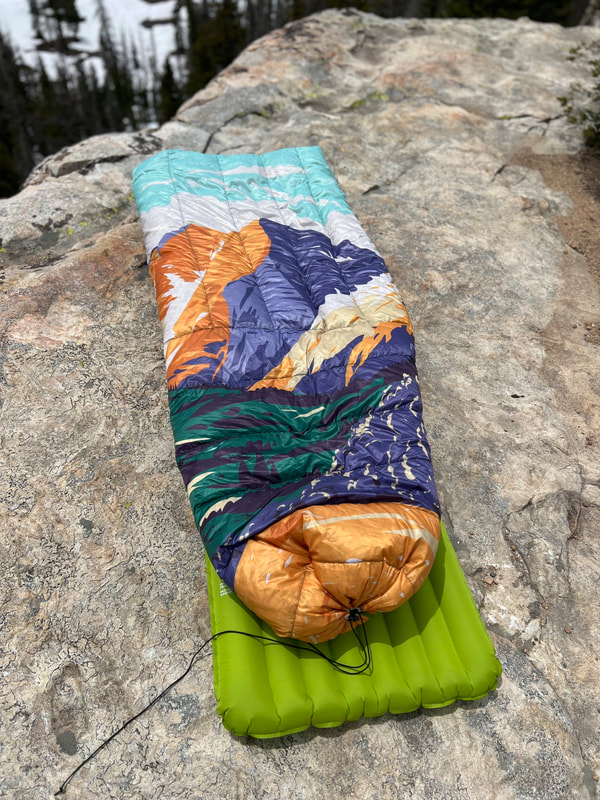
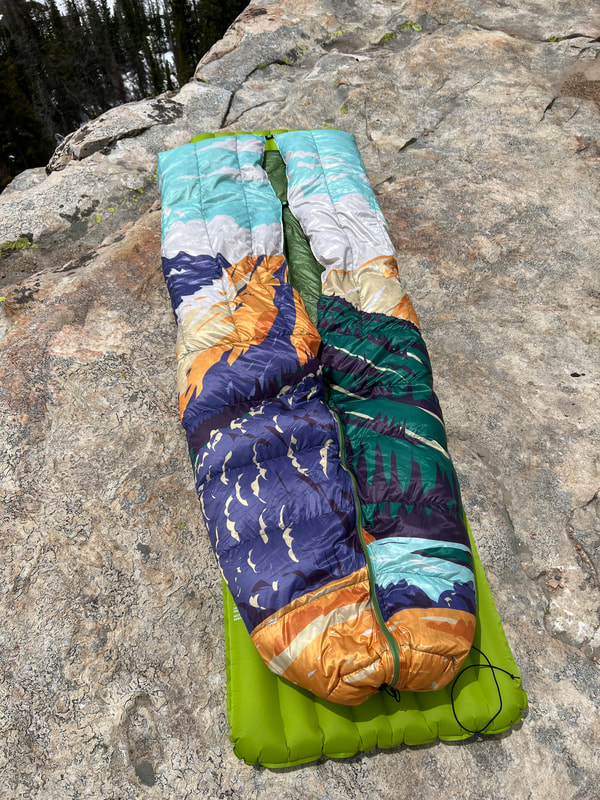
I am planning to make a down double quilt to upgrade the Apex double quilt Kevin and I made three years ago. However, the materials for that project were very expensive so I decided to start with the single quilt, thinking it would be good practice before tackling a much more labor intensive and higher stakes project. 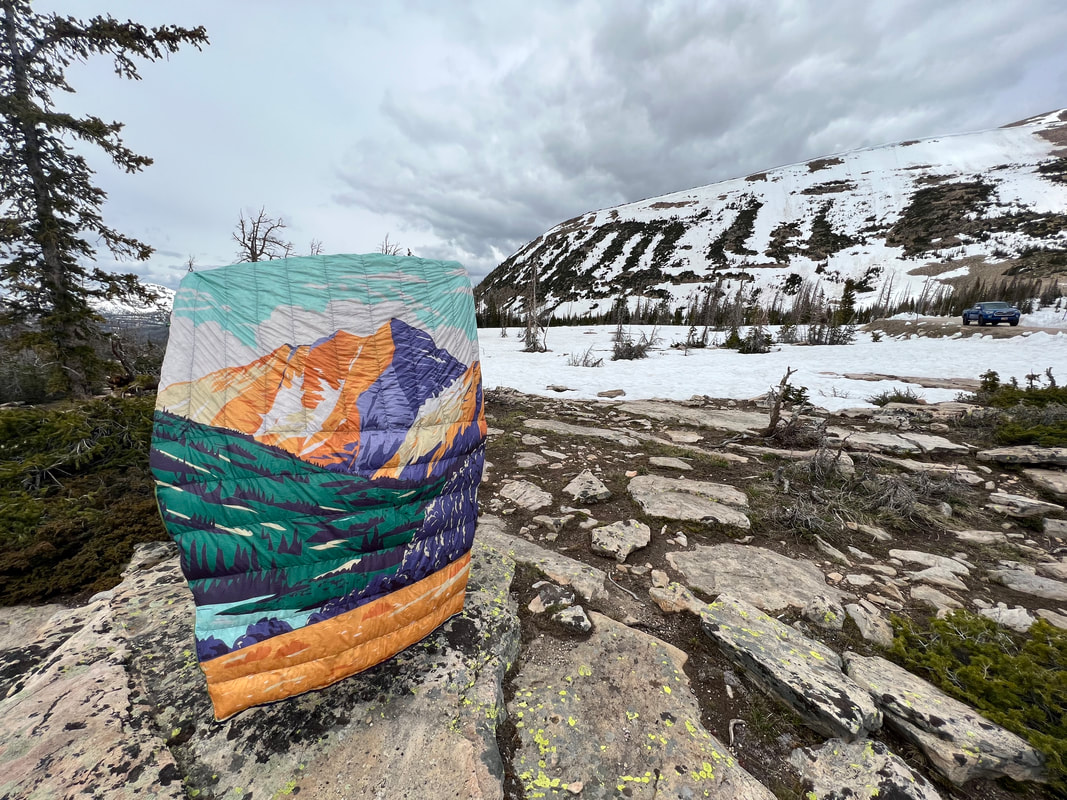 PlanningAs I'm not sure how often I will use a solo quilt backpacking (I usually go with my partner and share our double quilt), I knew I wanted this to be convertible into an open blanket. I looked around at various companies that offer backpacking quilts, and decided to base this design off of the Enlightened Equipment Enigma Quilt. When planning the quilt I assumed the fill power of the Frostline Kit's down to be roughly ~500FP, and figured anything warmer than a 20 degree F bag would be too heavy to realistically take backpacking. That's how I decided to make my baffles 2" high.  I opted to make the top baffles vertical because I'm a side sleeper and didn't want the down to clump on the outer edges, and felt that vertical baffles would help keep the insulation on top of me, and I did horizontal baffles on the bottom to help make sure my feet stay warm. Honestly, this is also just a similar design I've seen other's use and I think it's all personal preference. The numbers in orange are how wide each baffle is and the numbers in blue are the down packet I used to fill that baffle. I ended up going back and distributing some down by hand when I realized that the top baffles are quite a bit smaller than the horizontal ones. For the math, I calculated the amount of down based on the volume of the quilt. Top half: 57" wide x 36" long x 2" high (baffle goal loft) = 4,104 cubic inches Bottom half: (57 + 40/2) 48.5" average width x 36" long x 2" baffle = 3,492 cubic inches Added that up, 4,104 + 3,492 = 7,596 cubic inches total Then, you divide that by the fill power of your down. Fill power is how many cubic inches of space one ounce of down takes up. Higher quality down has a higher fill power, meaning less down is needed to fill up the same space, thus providing more insulation for less weight. Since fill power wasn't really a thing in the 70's when Frostline was around, I had to calculate the fill power of the down in order to adequately calculate how much down to use. 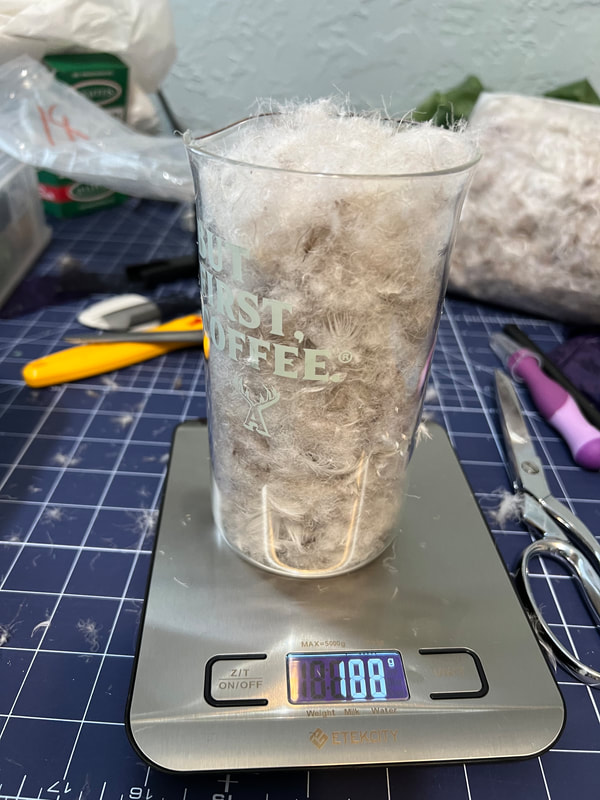 This was honestly a lot of guess work, but I filled the closest thing to a cylinder I could find with down, weighed it then calculated based on the volume of the cylinder and the weight of the down how much space one ounce would take up. After doing my math I landed at this down being 600 fill power. So to finish my calculations I divided 7,600 cubic inches by 600 fill power and determined I would need 12.67 oz of down for this quilt. Then I wanted between 10% and 30% overfill to ensure I don't get cold spots, so I decided on ~16.5 oz of down for this project. After filling all the chambers there were still some empty spots so I added another 1.5 oz and ended at 18oz of down. Since I really bootlegged the fill power calculation I figured this was within a reasonable margin of error. Materials 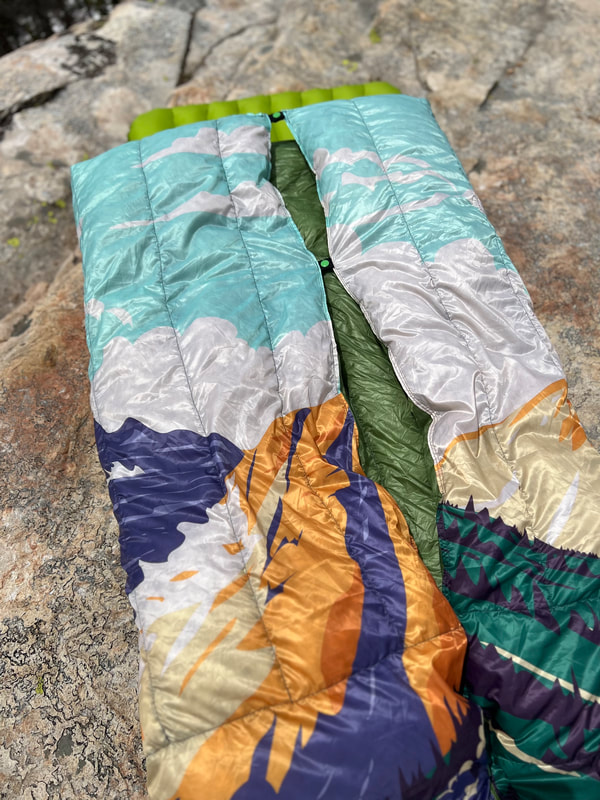 When working with down it is imperative that you have a down proof material to prevent down from escaping. I worked with 0.67 MEMBRANE 10 on my apex double quilt a few years ago and I don't love it (feels plasticy against the skin, very slippery to work with). However, that was the first project I'd ever sewn, so it's possible I just overshot for my first project and that's why it left a bitter taste in my mouth. So for this I decided to try different types of the MEMBRANE fabrics to see if I like it more. I also know now that the shiny side of the MEMBRANE is the "wrong side" aka internal, and the matte side is external. Didn't do this on my apex quilt and that's probably why it felt extra plasticy. Outer Fabric: MEMBRANE 15 Polyester Taffeta printed with OutdoorINK using a design I found on Canva. Lining Fabric: 0.75 oz MEMBRANE 10 Ripstop Nylon in Green Tea Baffle Fabric: 0.67 oz Noseeum Mesh I bought this by the yard, but you can buy this fabric as pre-cut baffle strips from RBTR as well Down: From an old Frostline Kit Closures: 30" separating zipper is from Wawak, KAM snaps are from Amazon, and the shock cord, toggles and grosgrain is from RBTR. I'm actually super pleased with these fabrics. I almost bought the lighter noseeum mesh but was warned it's too finicky to work with. After realizing I had some in my stash I completely agree and recommend the 0.67 as ideal for baffles. 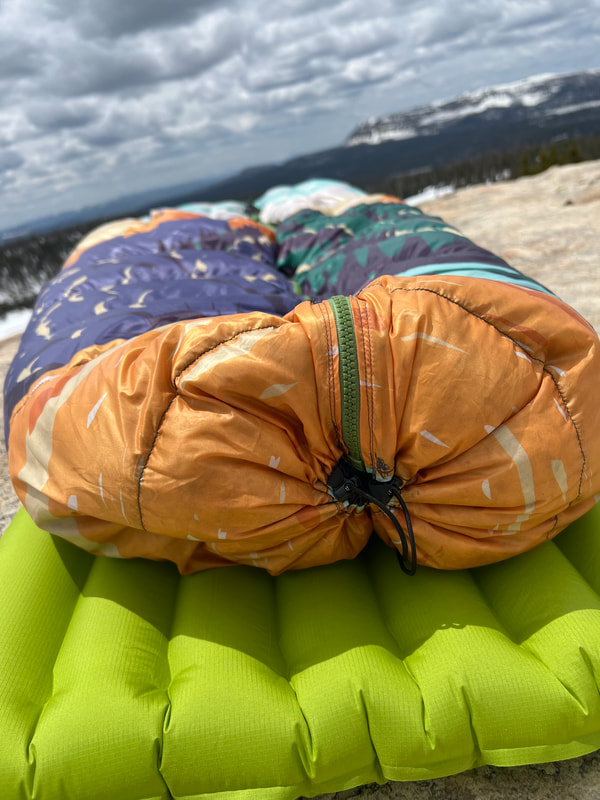 ConstructionI followed the steps in this post from Craderson Carriers.  I made a paper template of my quilt, drew on the baffle lines and then cut slits on each baffle line so I could easily draw the chalk lines on my fabric. 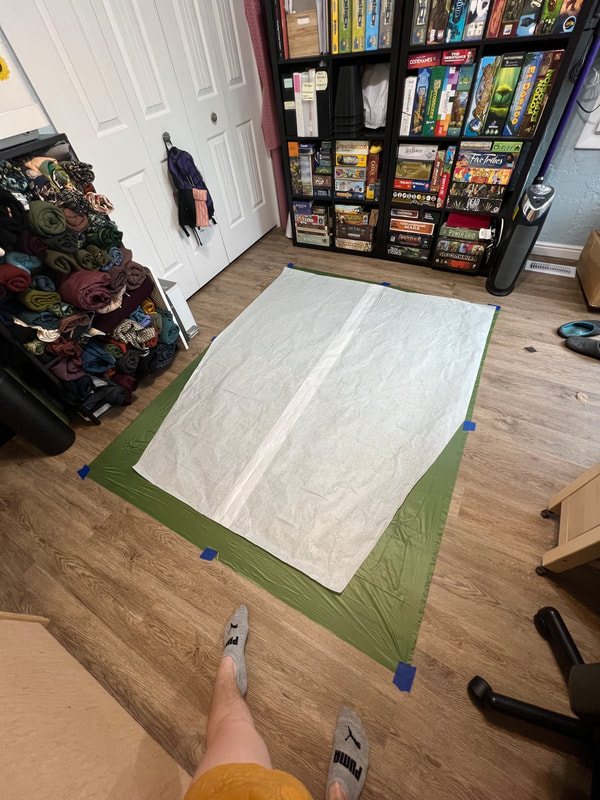 Then I taped the fabric down and cut out the pattern. 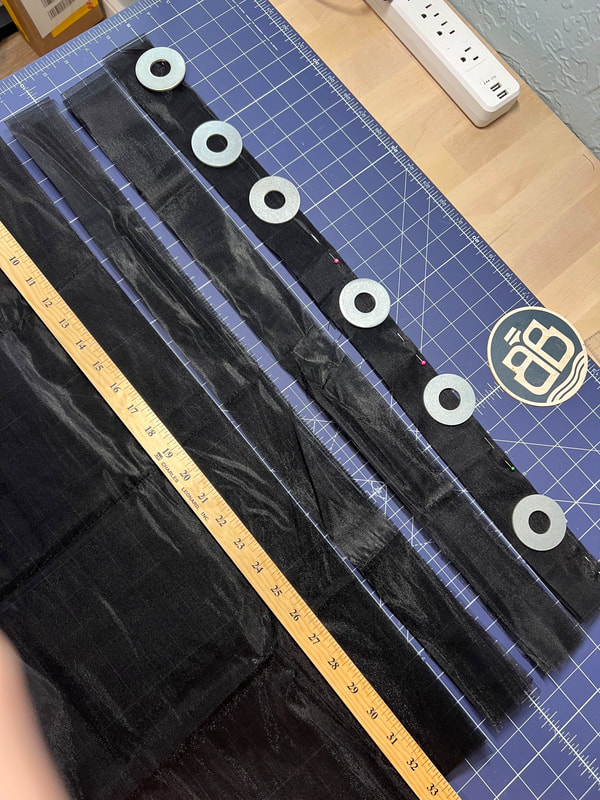 Since I bought my mesh by the yard, I had to cut the strips. I folded the fabric over twice to make it easy and cut my 2" strips (you want the strips to be your goal loft, as the finished will be 0.5" less than target loft). 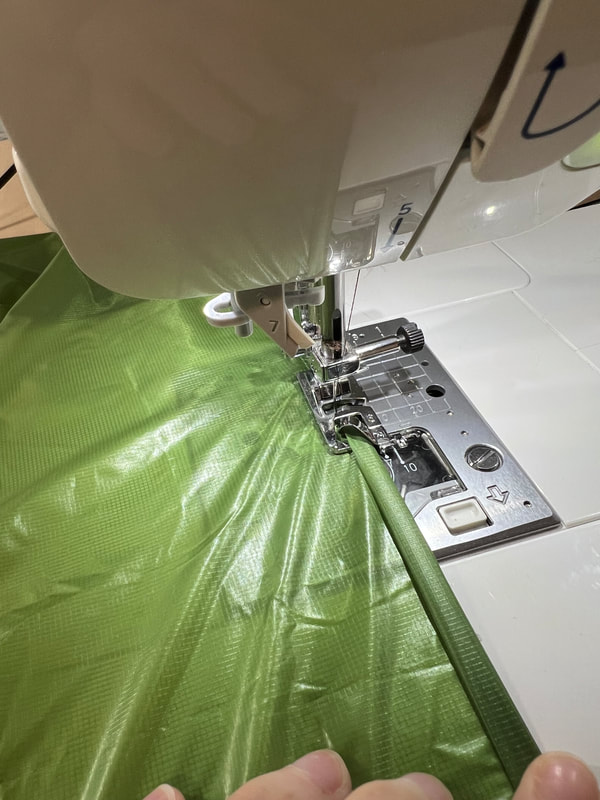 Then I used my rolled hem foot to hem all the raw edges of both the top and bottom fabric. Some tutorials recommend that you burn all the raw edges, but I preferred this method and cut my fabric 1" wider and longer than my desired size to account for the 1/2" hem on each side. After hemming everything, I sewed the baffle strips to the top fabric. Then came the really daunting part for me: sewing the baffles to the lining. If doing both vertical and horizontal baffles, you have to sew the vertical baffles first! If you sew horizontal first then you won't be able to navigate the fabric to sew the horizontal after. Above are some pics of what it looks like at these steps. This was the hardest for me to wrap my head around, so I hope these pics are helpful! I have a video on my instagram highlight showing this as well. After the baffles were sewn to both the outer and lining, I pivoted and created the cinch cord casing for the bottom of the quilt. I used scrap 0.66 oz MEMBRANE 10 from my other quilt, and cut a strip that was 2" longer than the width of the quilt bottom and 4" tall. Then I burned the raw edges, double folded the width of the fabric to create a 1/2" casing, and hemmed the short edges. I did a double fold hoping it would give the casing extra reinforcement. Then I sewed on cord toggles, and sewed the finished casing in between the two hemmed bottom edges of the quilt top and lining fabrics. This was very finnicky and I had to use pins along the seam line to hold everything in place. I left 3/8" room at each end for the zipper insertion. Then I sewed the zipper onto one long edge, and finished sewing up that edge so now the left side and bottom of my quilt were closed and I was ready to move onto stuffing the down. 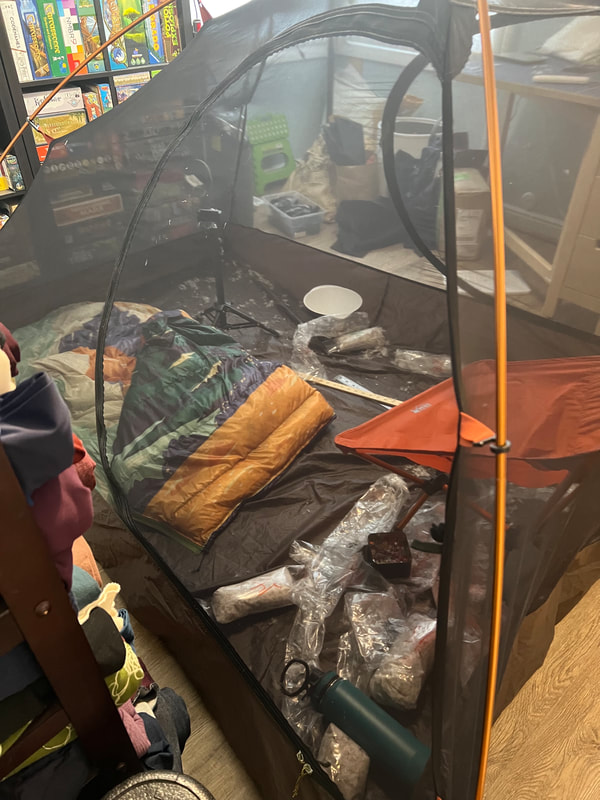 Perhaps the most chaotic part of this process was setting up a 3 person tent in my tiny sewing room, so I could stuff the down without worrying about it flying all over my room. Thankfully the Frostline kit down packages are designed to be very easily shot into the chambers using a ruler to push out the down. Then I used a meter stick to shove the down deeper in the chambers. I used wonder clips to close the chamber after filling each one. 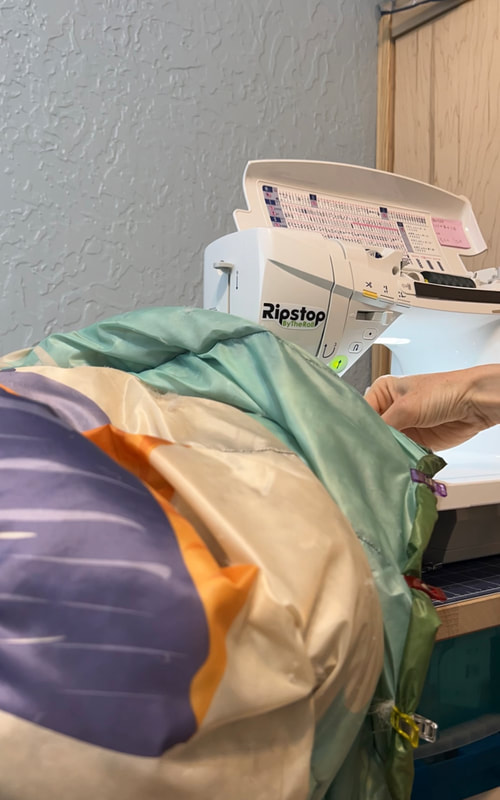 Unfortunately I didn't really document the final steps where I sewed the last edge closed. It was a little chaotic and down definitely escaped but thankfully it went quickly and by this stage I knew I was close to the finish line! 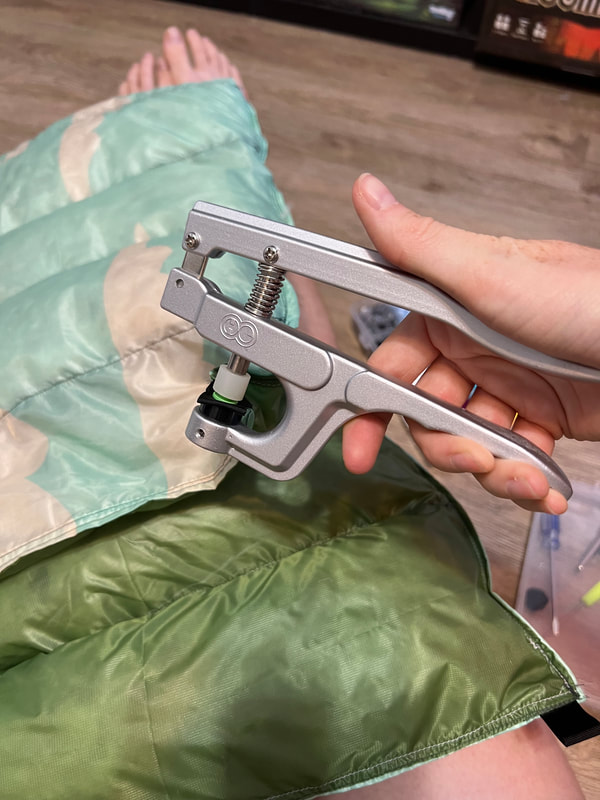 The last step was installing the plastic KAM snaps for draft protection and trimming loose threads! 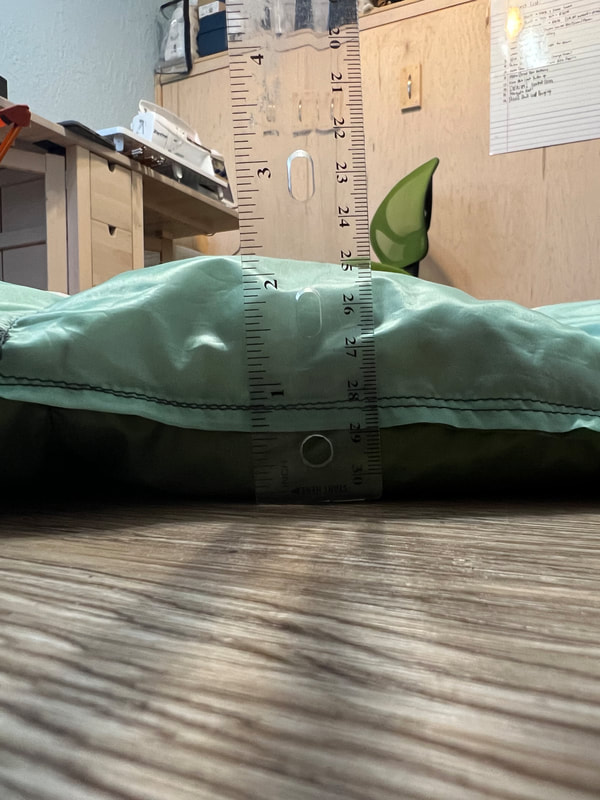 When all was said and done I think I hit my 2" target loft! Final Thoughts: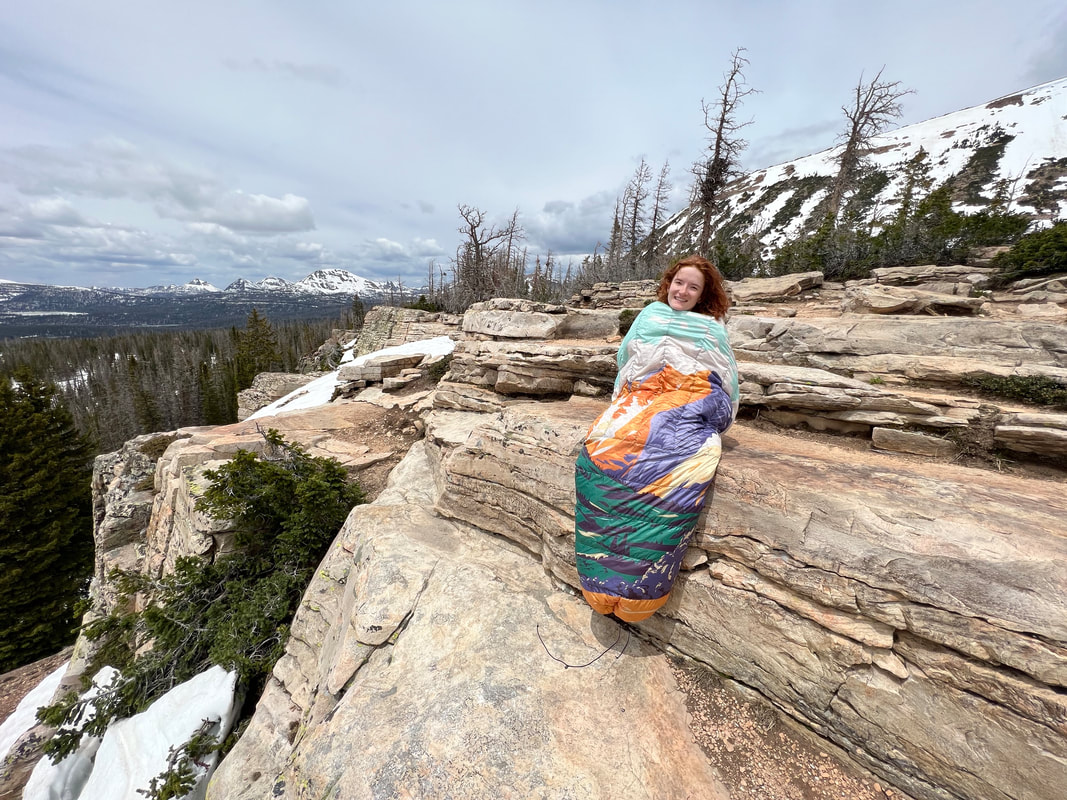 I'm really proud of myself for finally tackling down. This is something I've feared for awhile, and thankfully all the stars aligned to make this the perfect low-stakes entry project into down. It's super cozy, I absolutely adore the design, and can genuinely say I did my best on this project. It weighs 24.4 oz and based on the loft I would rate it as an approximately 20 degree F bag. It's the perfect height and width, and because it converts between a blanket and a quilt I can see it getting lots of use!
0 Comments
Leave a Reply. |
About FrancescaI got my first sewing machine middle school, circa 2005 (although I don't remember learning much in the way of sewing). After a long hiatus, I was reunited with my machine in 2019. I re-entered the hobby through gear-making, and have been crafting a handmade wardrobe since late 2020. I have a real affinity for comfy clothes (secret pajamas) and all the colors! Archives
August 2023
Categories |

 RSS Feed
