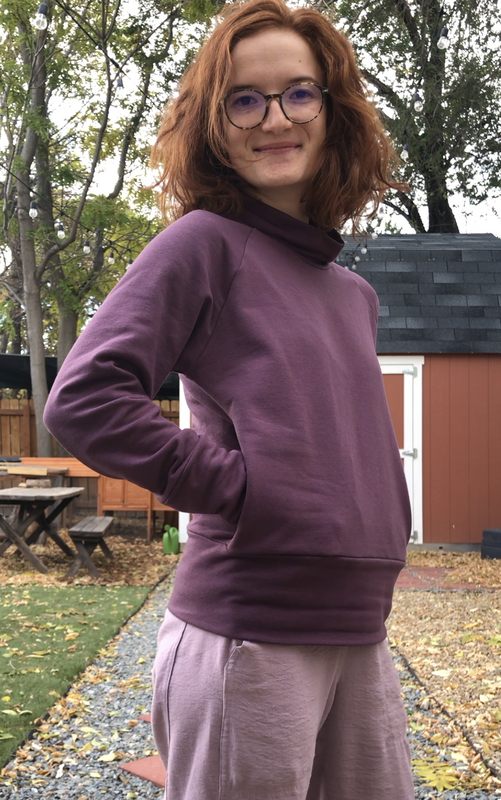
 I've made two toaster sweater's now, I love both dearly, but I have a strong bias towards the one I made WITH POCKETS! I've included instructions on how to add pockets to the Toaster Sweater in the sections below! View & Sizing:I'll start by noting I only own the pattern for Toaster Sweater #1, I have all the love for raglans, so I didn't bother buying the pattern for version #2. Therefore, all of this is just for V #1, although I imagine you could follow similar instructions to add pockets for Version #2.
As I discuss below, I lengthened my purple version (the one with pockets) 1" to prevent the pocket from being visible below the bottom band. The green version is made as is. 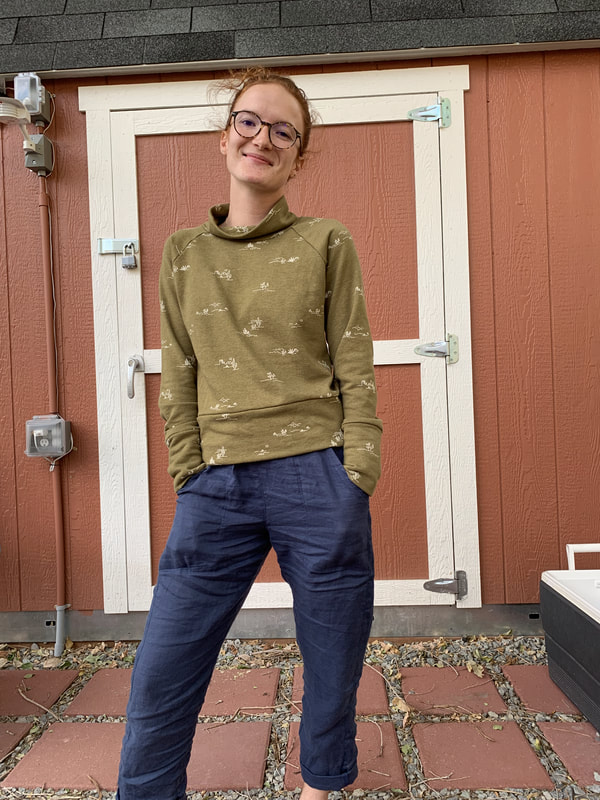 Materials:The green cactus version is made of a polyester french terry from Design Co Fabrics in SLC. The purple version is made from the SOFTEST bamboo sweatshirt fleece from Salt Lake Sewciety. Construction:Without mods, the Toaster Sweater is an amazingly easy sew, and my favorite part is that it can be 100% constructed on the serger. This is because there's no cuff or hem, instead they are constructed with folded bands that therefore don't require topstitching. There's an option to topstitch the shoulder seams, I opted not to, but I can see these seams degrading with a lot of wear. How to add pockets: First, lengthen the bodice front and back pieces 1" at the bottom. I prefer this otherwise the pockets are at my waist and I prefer them slightly closer to my hips. Then, draw a basic pocket bag that looks generally like a kidney bean. (If you have another pattern with pocket bags you can just use those). Hold the pocket piece up to the bottom of the front bodice and hold up the bottom band. Ensure the pocket back when lined up with the bottom of the side seam does not extend past the fold line on the bottom band. After you're pleased with the size cut 4 of these. 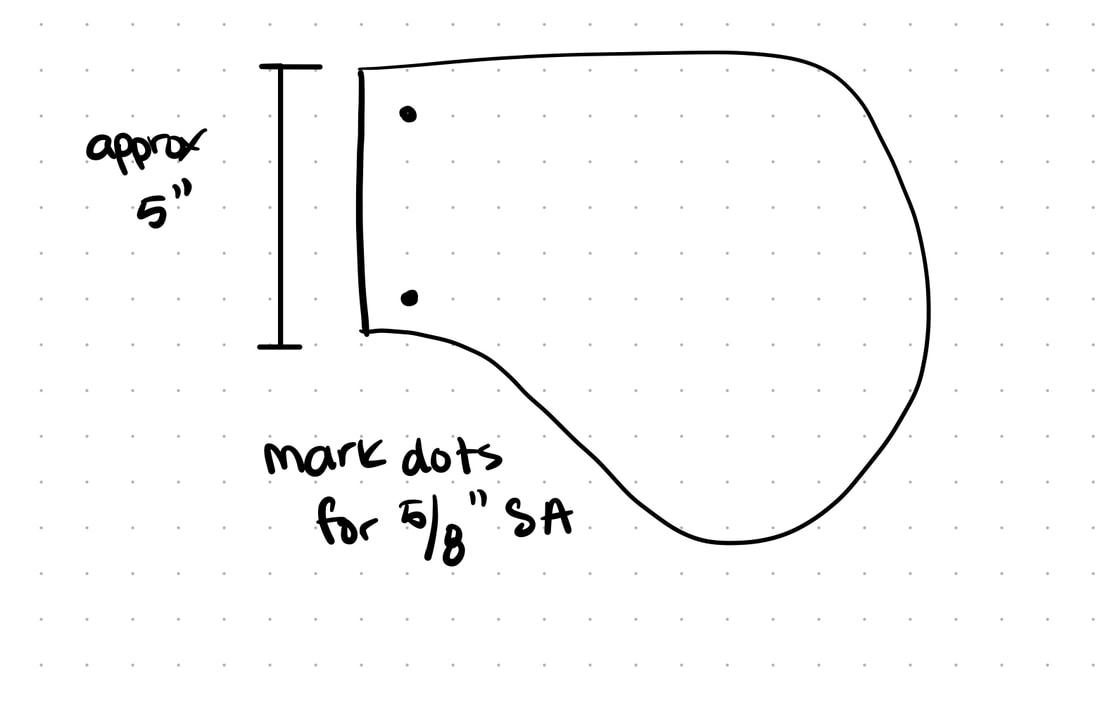 Construct the rest of the garment like normal, and stop before you sew the side seams. Right sides together, sew the pocket bags to the front and back bodice pieces. I opted to line the bottom of the pocket bag straight edge (side seam) with the bottom of the bodice seams, this is where my hands naturally look for a pocket. Based on your preference you may want to move the pockets up. After you sew the pocket pieces to the bodice, press the seam towards the pocket and understitch the pocket bag to the seam. 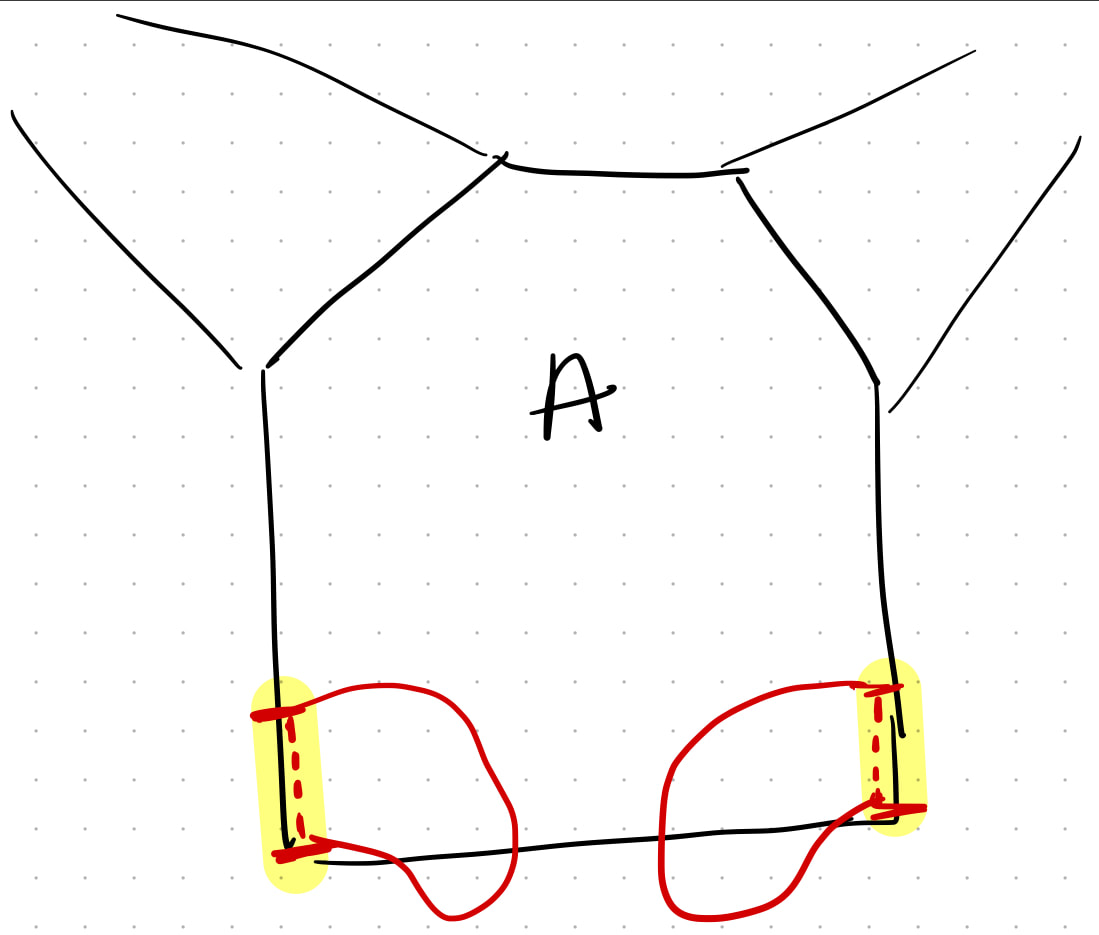 Next, proceed to sewing the side seams, but instead of sewing straight down to the bottom, you will now sew the pocket bags to each other. Pivot at the circle on the pocket bag. I was able to do this on the serger, but it did take some work to navigate the curves. Do not sew the yellow highlighted portion below, this is where you have already sewn and understitched from the previous step. 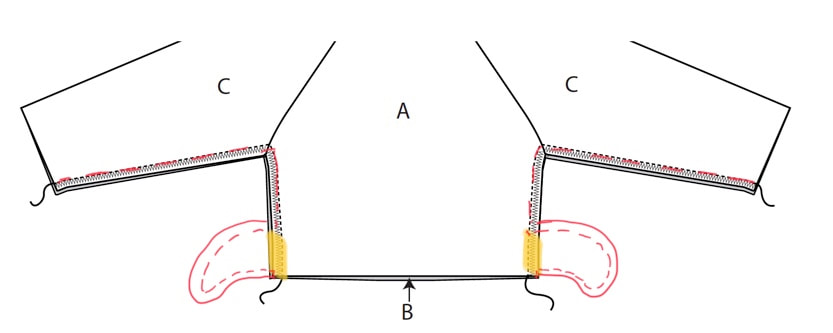 Now your pockets are constructed and you can proceed as normal, attaching the cuffs and bottom band. 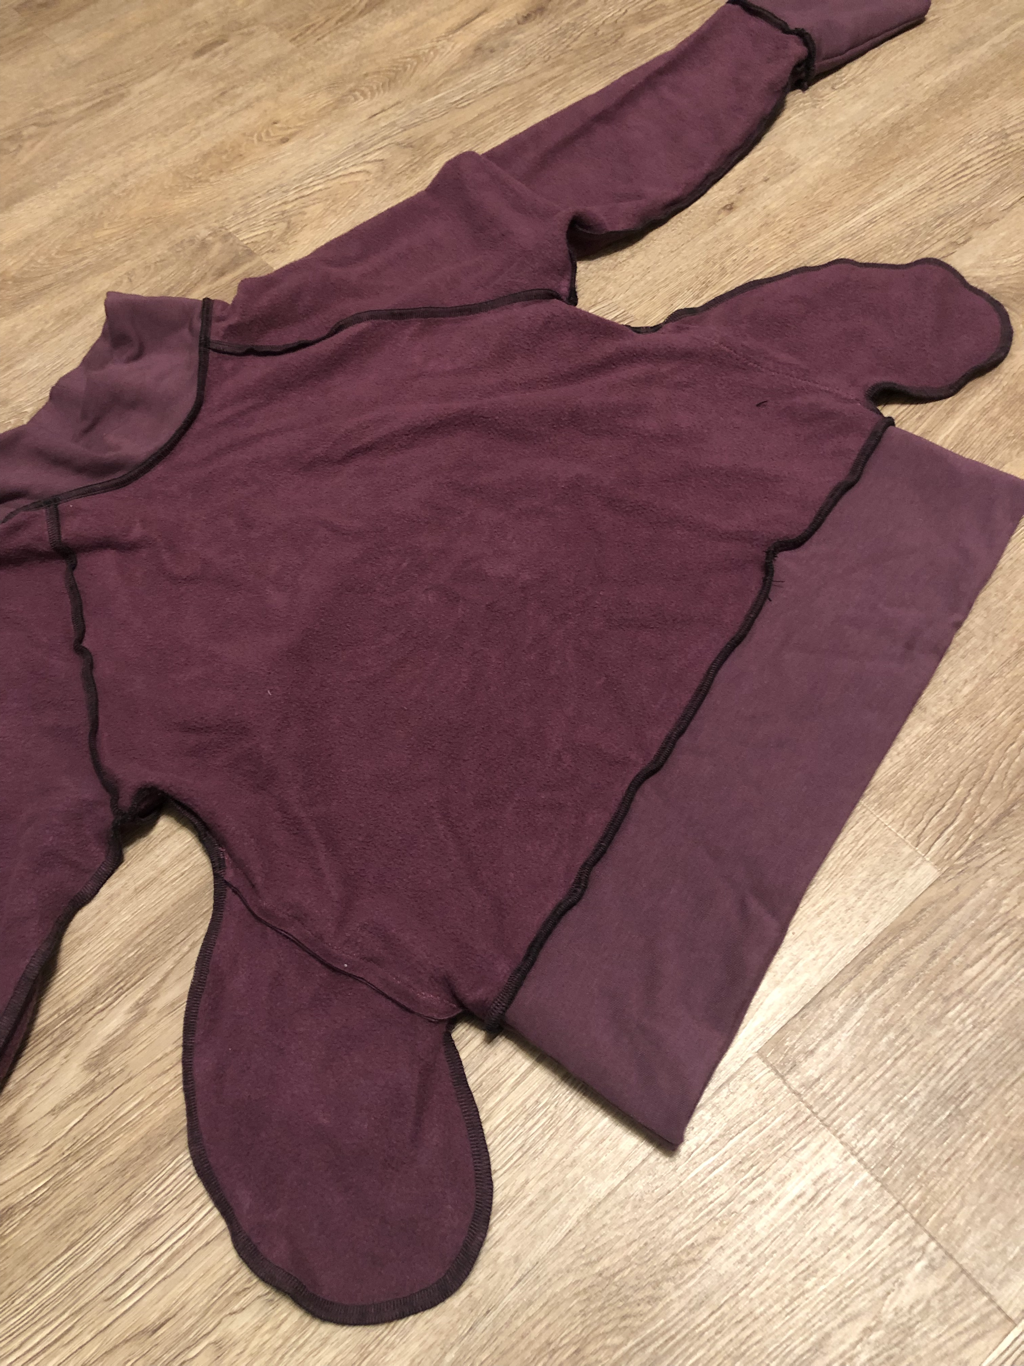 Final Thoughts:love, Love, LOVE this pattern. It's so simple, and is just a tad classier than wearing a hoodie all day, which is exactly what I was going for. I'll definitely be making more of these, especially now that I've added pockets! 
0 Comments
Your comment will be posted after it is approved.
Leave a Reply. |
About FrancescaI got my first sewing machine middle school, circa 2005 (although I don't remember learning much in the way of sewing). After a long hiatus, I was reunited with my machine in 2019. I re-entered the hobby through gear-making, and have been crafting a handmade wardrobe since late 2020. I have a real affinity for comfy clothes (secret pajamas) and all the colors! Archives
August 2023
Categories |
 RSS Feed
