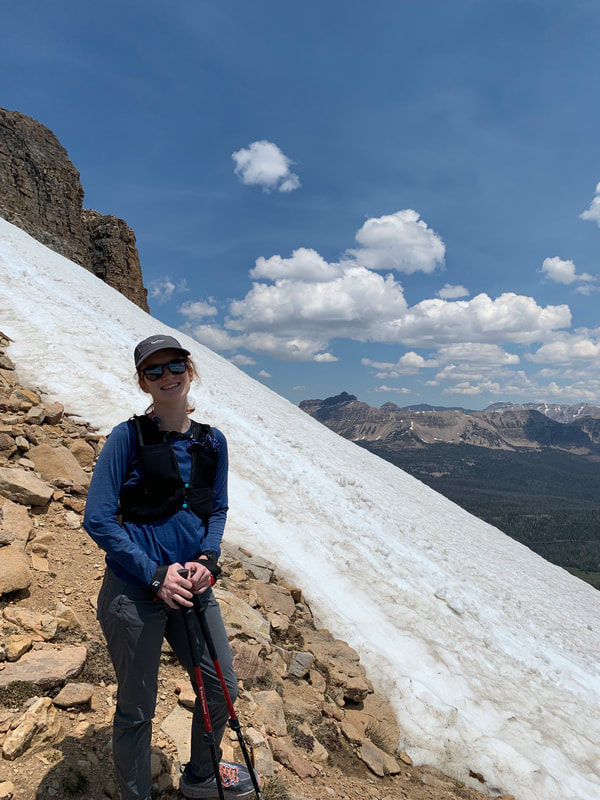
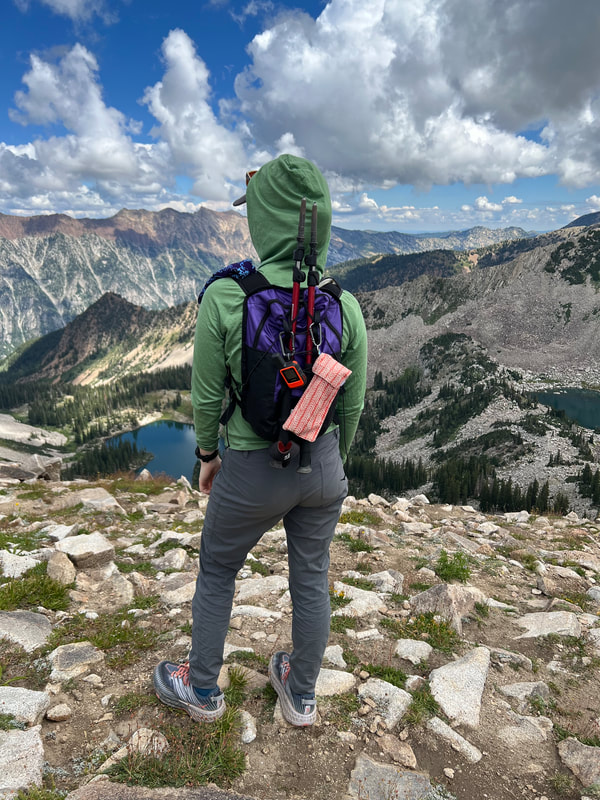
 Earlier this year I made two roll-top trail running packs using the LearnMYOG pattern, but it didn't fit my torso well & I prefer zip tops for day packs. So I got to hacking & here's how I did it! Previous VersionsIf you're interested in my previous versions, here is the detailed blog post on the pack I made myself (with mods) and the version I made for Kevin, which didn't require any mods. 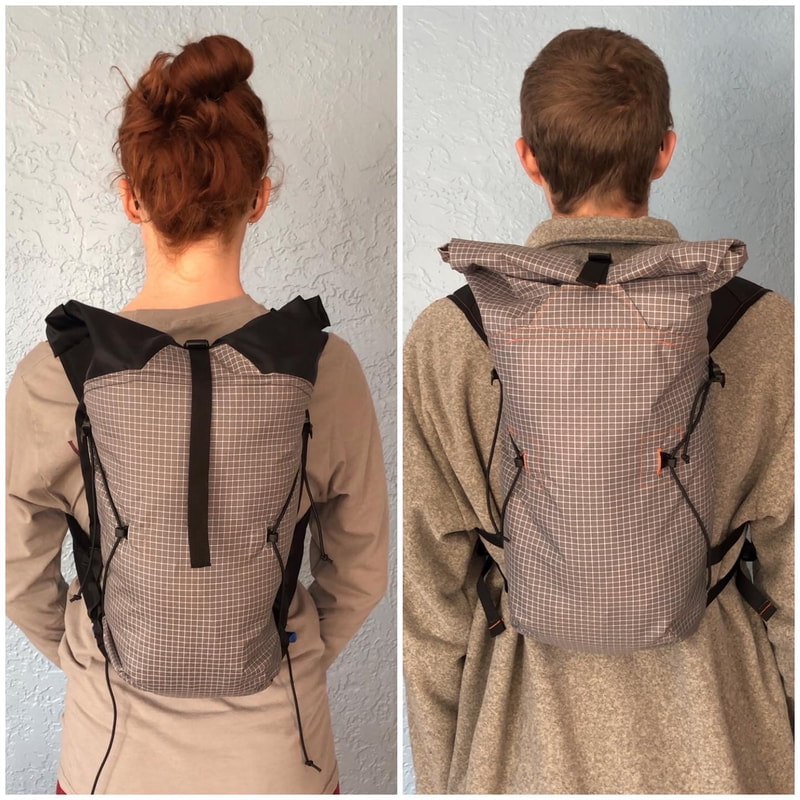 I used all scraps & hardware from my stash for this pack, so I treated it as a prototype, and was stoked to get tons of use out of it XC skiing this winter and hiking this spring. The big issue for me is that I opted for the wrap around harness vest option. Even though I shortened the straps and narrowed the side harness pieces, it is basically the full circumference of my torso. I've struggled a ton to find sternum straps that would fit given how big it is on me. I've been unsuccessful, and my most recent mods have KAM straps connecting the front straps. Not ideal. I also don't love having to rifle through the whole pack to find my snacks, which is pretty much unavoidable in a roll top.
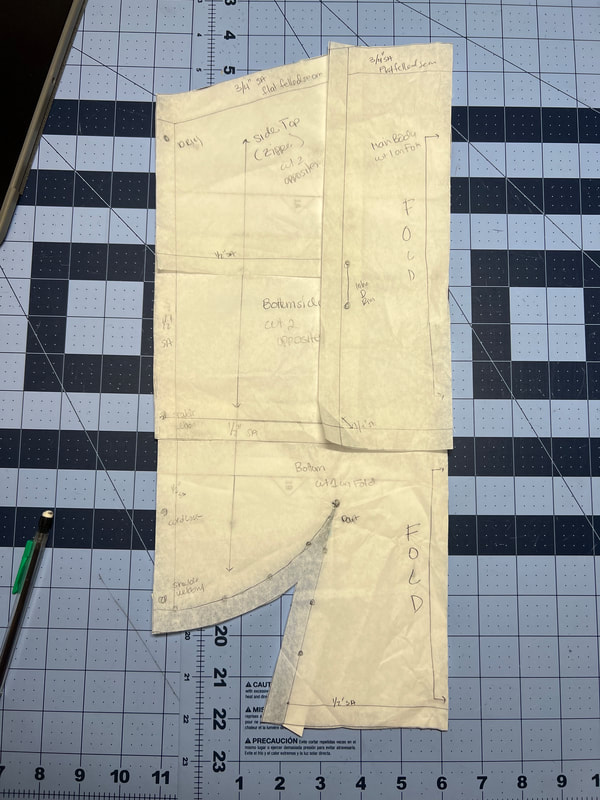
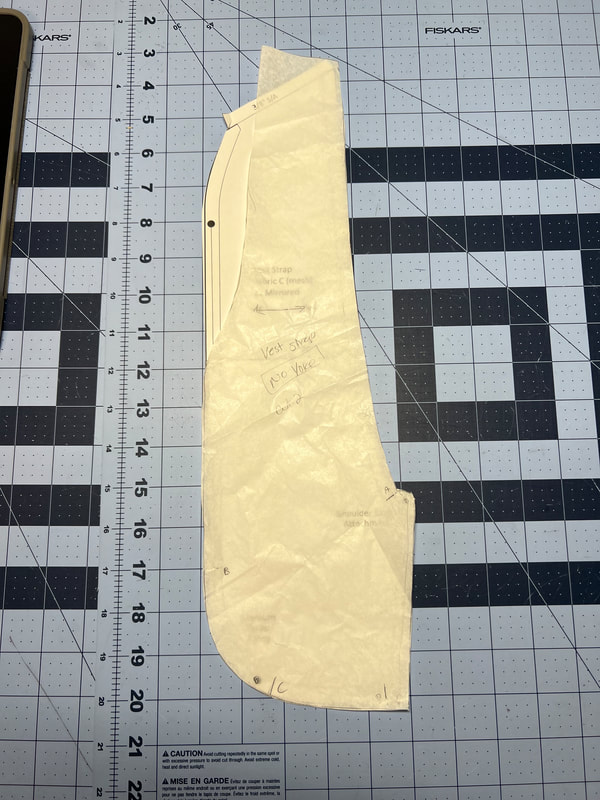
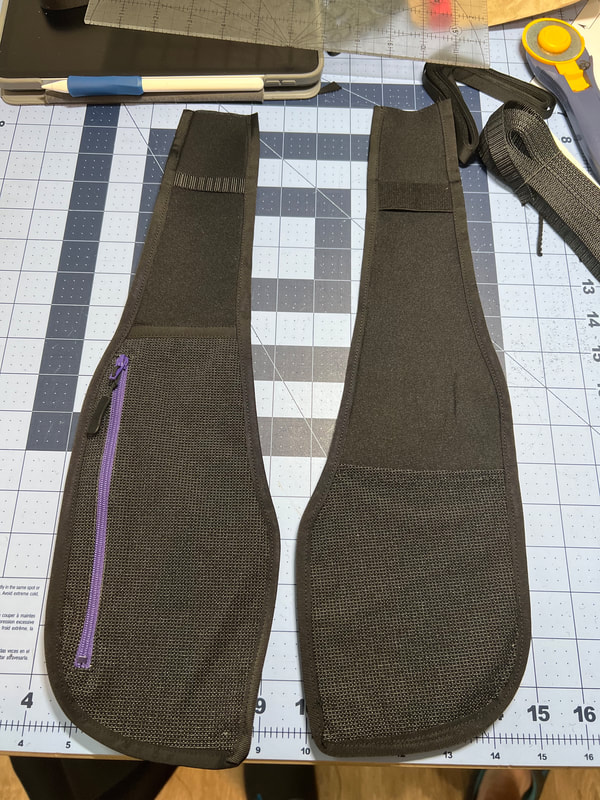
You can see the KAM snaps (blue) pictured above. The top sternum strap is as small as I could physically get it, but should be even tighter. Overall just not ideal. Pattern AdjustmentsThis all started as a sketch on my iPad to get an idea of what I wanted, which I then transferred to the pattern pieces to bring to life. I ended up omitting the outer stretch pocket I'd included in the sketch, because I just loved the structure of the outer body as is.  The first adjustments I made were to the main body. The main purpose of this hack-job was to get a zipper to replace the roll top. I knew the zipper would need to go about 1/3 of the way down the side in order to have easy access to the contents of the pack. To do this, I started with the bottom (on the fold), then split off the "main body" (on the fold), and then took the side piece and broke it into two horizontally (each needs two pieces mirrored). I drafted all of this on the main body pattern piece, and drew 1/2" seam allowances so that I could easily trace to get each piece separate. You can see these lines if you look at the white pattern piece below.
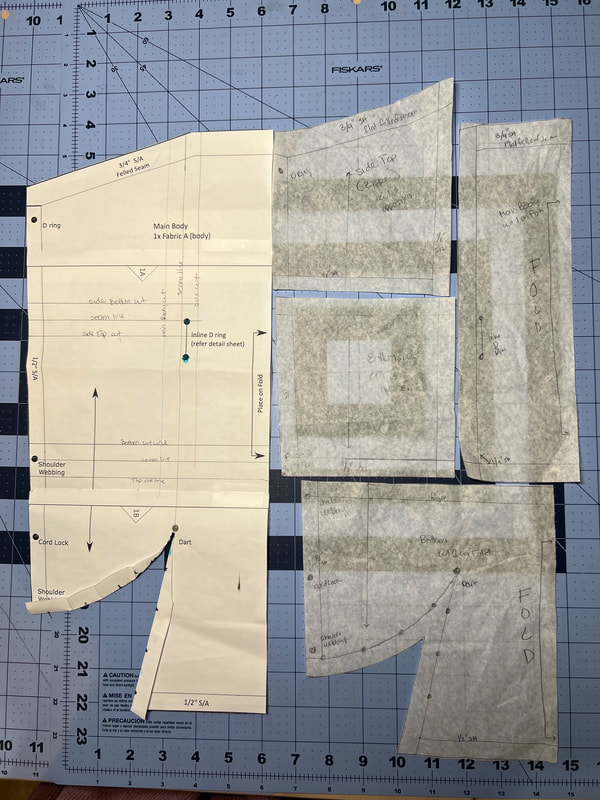
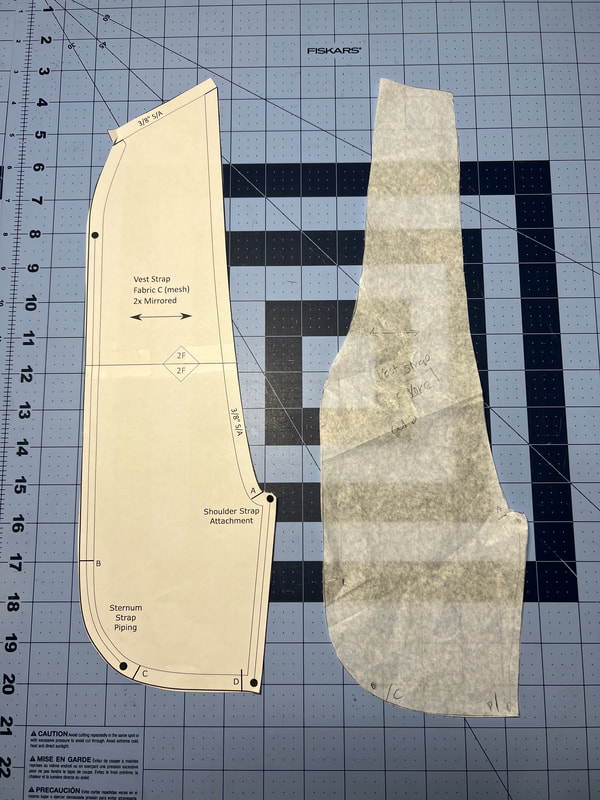
The top took a long time to figure out. I tried it several times and none of them looked right. I completely omitted the roll top collar piece, but tried to use the dimensions to figure out what shape the top needed to be. This process was made a lot easier because I had my two previous versions with the roll top to hold my pattern piece up to in order to check if the size looked correct. I was convinced the entire time during construction that when I went to attach the back to the main body it wouldn't align. Thankfully it worked out fine! I trimmed some of the pointy bits to be more rounded before I bound the edges, but those were super minor it isn't work changing the pattern pieces. This is constructed roughly using the back curved piece (not on the fold) on one edge; my side pieces on two opposite edges, and the main body width (not on the fold) opposite the back piece. 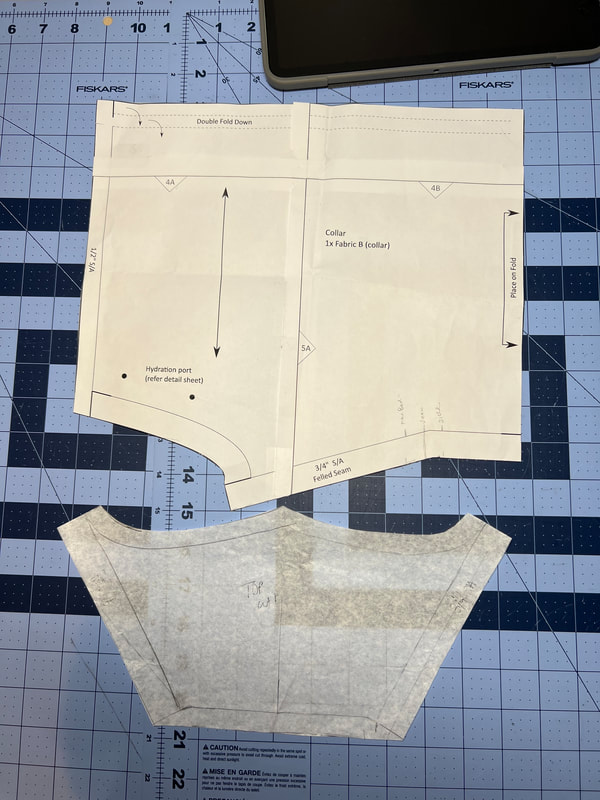 I waited until I had the back constructed to modify the strap pattern pieces. On Kevin's version, I used the regular straight straps, and I pinched it to the top of the pack without the yoke and realized it was nearly a perfect fit. So I decided to use just the strap piece, but narrow it at the top to be less restrictive around my neck.
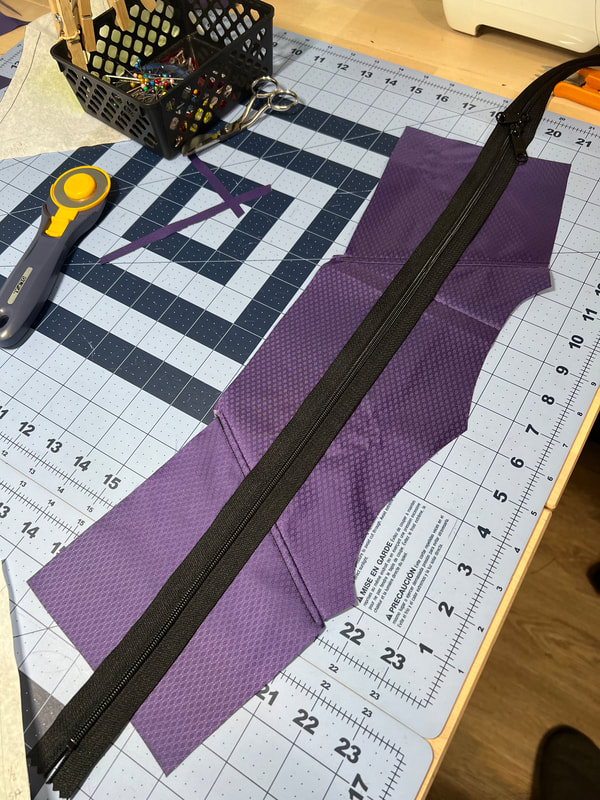
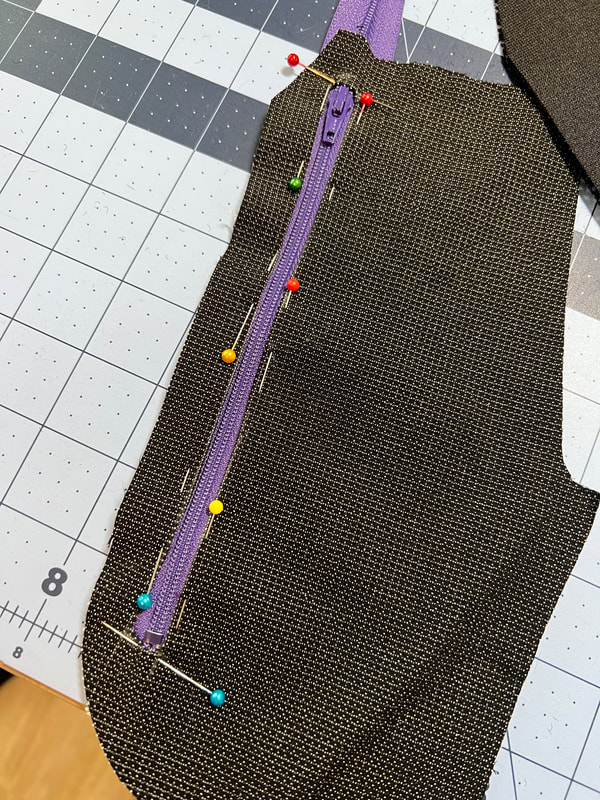
In addition to these modded pieces, I used the back panel, hydration sleeve, and phone pocket as is in the original pattern. For the right vest pocket, I folded the phone pocket pattern piece down quite a bit to make a small pocket for my inhaler, chapstick and sunblock stick. ConstructionThe first piece I constructed was the top + side tops to test out my patterning of the top piece. I used a flat felled seam to sew these pieces together, and then cut it straight down the middle to insert the zipper. I serged the raw ends of the cut gusset piece, then used a 3/8" seam allowance to insert the zipper. I used a double headed nylon zipper from Wawak.
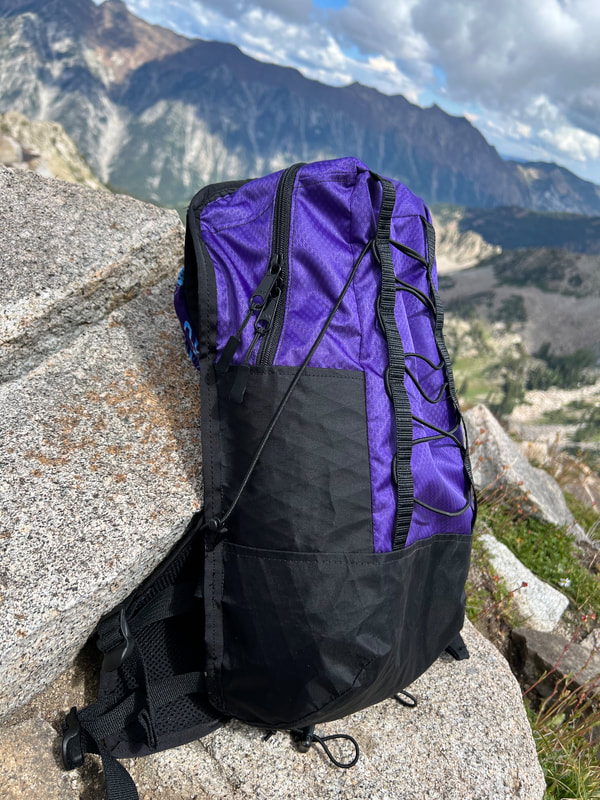
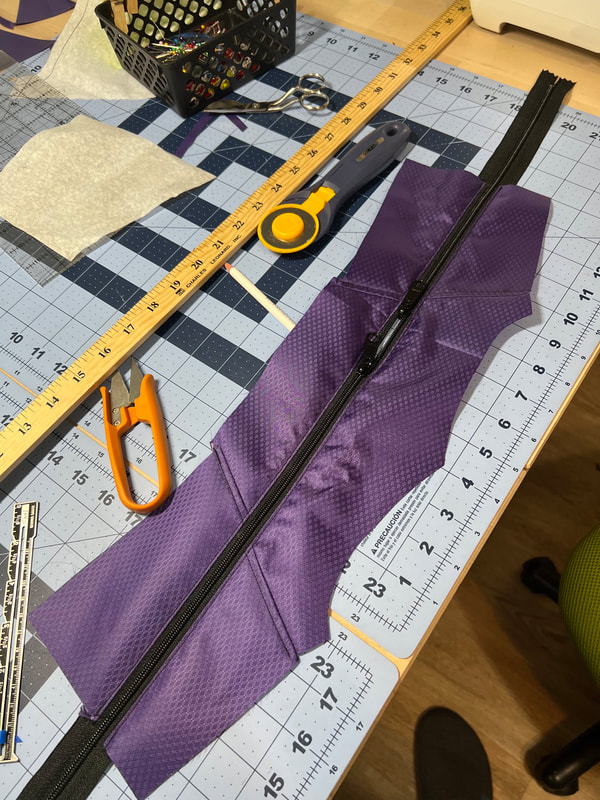
I decided to insert the zipper straight, understanding it would end up angled on the actual pack because I thought it would look good and was easier than trying to center the zipper on a curved pattern piece. I think it came out great on the finished pack! 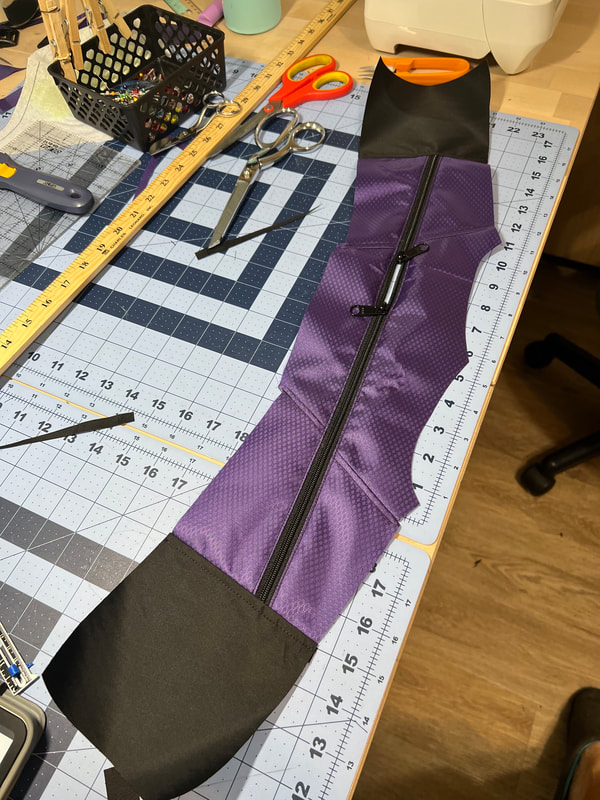 After inserting the zipper, I trimmed the edges, and sewed on the bottom side pieces (black). I used grosgrain to finish that seam and topstitched it down.
The rest of the main body came together really quickly. I sewed on the daisy chain to the main panel, connected it to the top seam. Grosgrain finished those seams before attaching it all to the bottom piece which I then also finished with grosgrain and topstitched down. 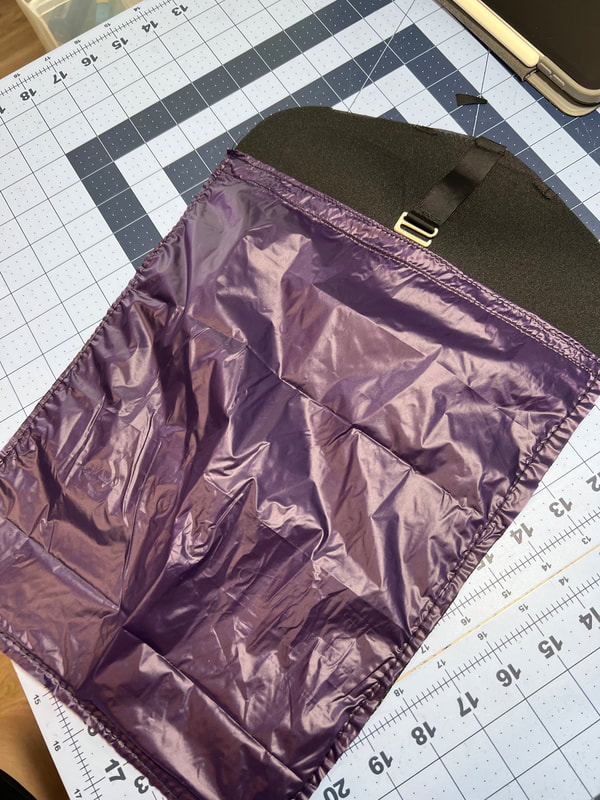 The back piece came together quickly. I used 0.6 oz membrane 10 for the hydration sleeve (scrap from my quilt), and a swimsuit top hook for the hydration bladder hanger. I omitted the back lining piece since it doesn't do much.
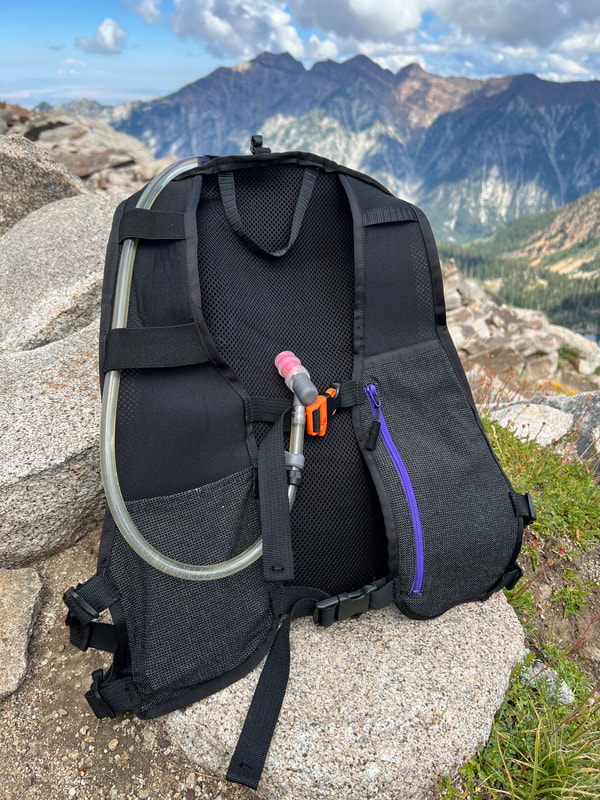
Inserting the strap zipper into the venom much was SO MUCH EASIER than inserting it into Spandura. Holy crap. Game Changer. The UL Venom Mesh has a lot more structure and less stretch, so it's just a lot easier to sew with. 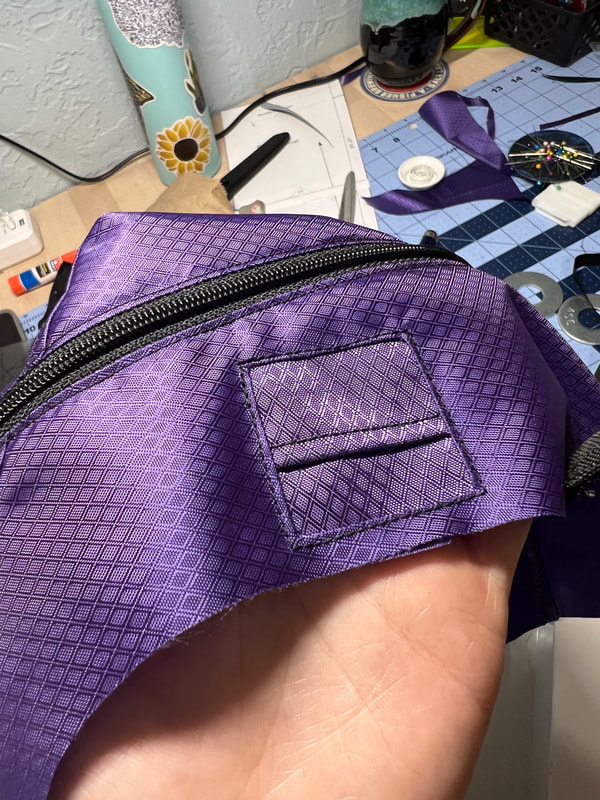 I totally forgot about the port for the hydration straw until the last minute. There wasn't a ton of space on my top gusset for it, but I made the square 1.5" and it works ok. This was the first time I pulled up the instructions because I forgot how to do it. Everything else I remembered from the last two packs I made.
Here's a better view of the inside & straps up close. You can see the hydration hose clip and fixed sternum straps. I might move the inReach clip above the zipper pocket down a bit, since this ends up sitting right on top of my shoulder. Only addition I might do is to make an internal pocket. Materials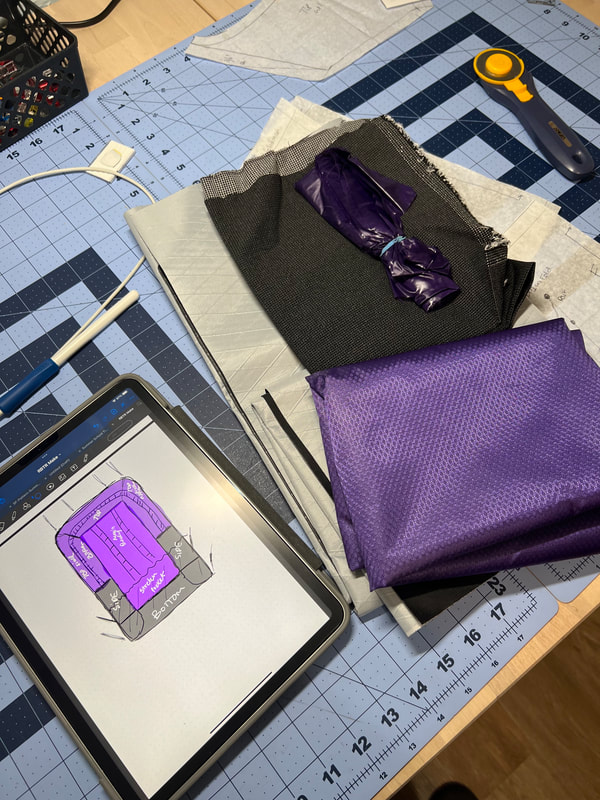 *all of the links below are affiliate links to Ripstop by the Roll. Meaning if you make a purchase after clicking the link, I will get a small commission at no cost to you! HyperD 300 - Royal Purple XPAC VX21 - Black UL Venom Stretch Mesh 0.66oz MEMBRANE 10 Ripstop Nylon I purchased the zippers from Wawak. The main zipper is a YKK #5 nylon double headed zipper, and the purple phone pocket zipper is a YKK #3. Final Thoughts
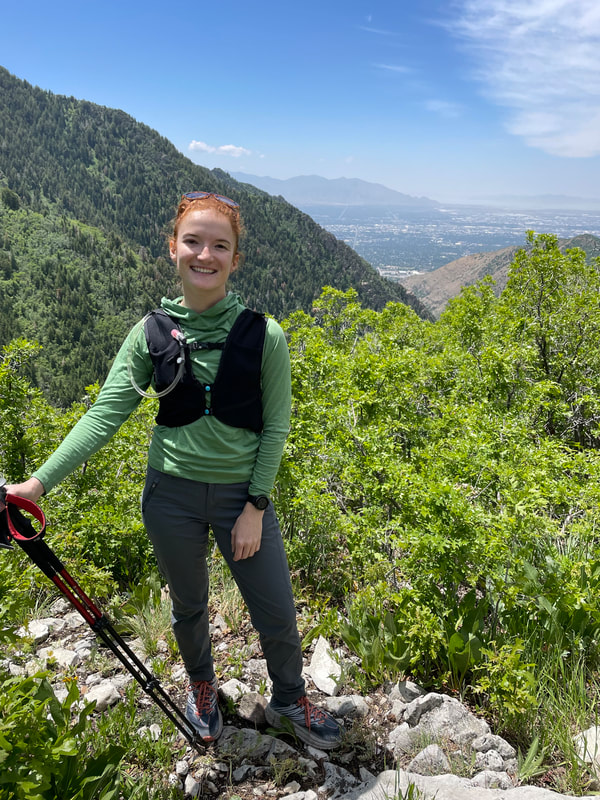
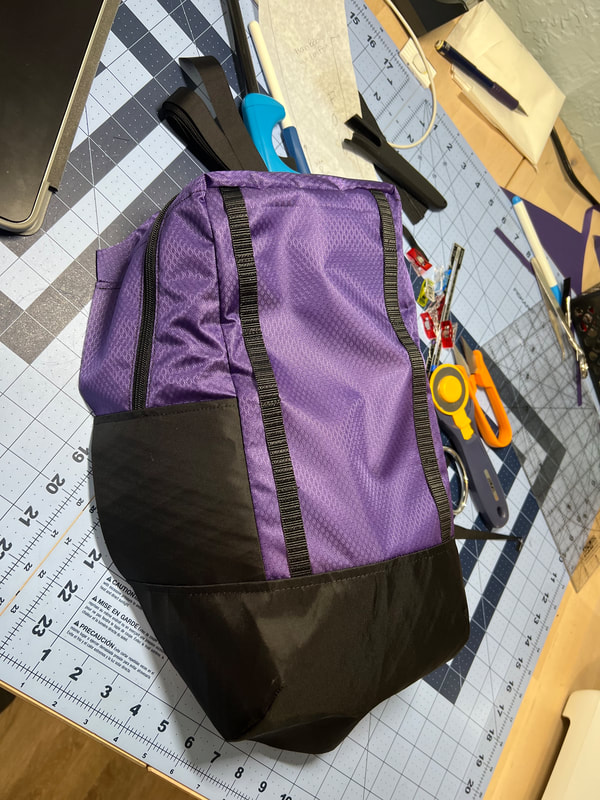
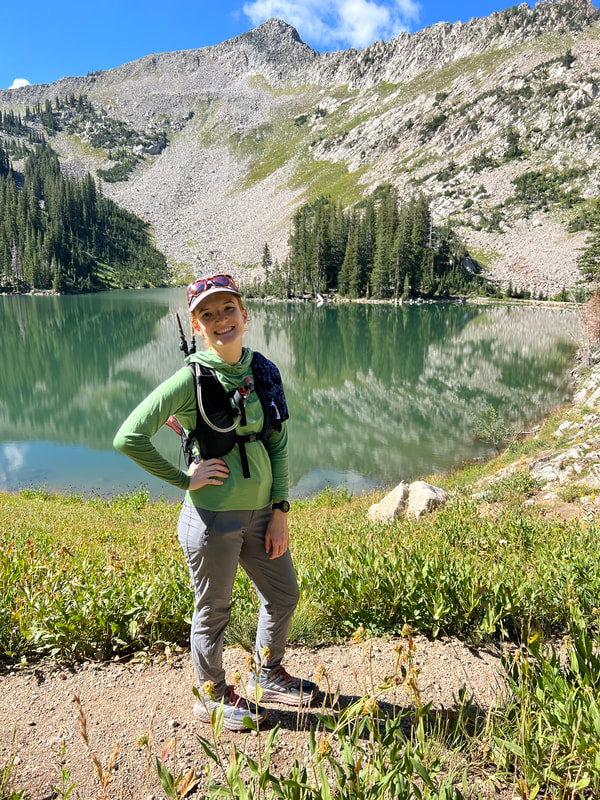
This pack ended up far exceeding my expectations. The vest straps fit my torso perfectly, and it is far more breathable this way than with the wrap around harness. The compression system works great, I can cinch the sides top and main body. I can easily reach my PStyle and poles while hiking when they're secured to the back. The zip top allows easy access to my snacks and whatnot. Just all around a fantastic bag and I'm so glad I was able to whip it up in a day!
I want to make more, but honestly there's nothing I'd change about this so I don't have a valid reason to make another one.
0 Comments
Your comment will be posted after it is approved.
Leave a Reply. |
About FrancescaI got my first sewing machine middle school, circa 2005 (although I don't remember learning much in the way of sewing). After a long hiatus, I was reunited with my machine in 2019. I re-entered the hobby through gear-making, and have been crafting a handmade wardrobe since late 2020. I have a real affinity for comfy clothes (secret pajamas) and all the colors! Archives
August 2023
Categories |


 RSS Feed
